💪 Difficulty: Easy
⏰ Time to Implement: 20 minutes
🤷♀️ Why: Removing unengaged subscribers in Klaviyo or any email marketing platform is a best practice for several reasons:
-
Maintain High Engagement Rates: Keeping unengaged subscribers on your list can lower your overall engagement metrics, such as open rates and click-through rates. Removing unengaged subscribers helps to maintain a healthier list with higher engagement levels.
-
Improve Deliverability: Email service providers (ESPs) like Gmail, Yahoo, and others monitor engagement signals like opens, clicks, and replies to determine whether emails should be delivered to the inbox, promotions tab, or spam folder. High levels of engagement signal to ESPs that your emails are valuable and wanted, improving your deliverability rates. Removing unengaged subscribers can help improve these engagement metrics, ultimately boosting your deliverability.
-
Cost Savings: Many email marketing platforms, including Klaviyo, charge based on the number of subscribers you have on your list. Removing unengaged subscribers can help reduce your subscription costs, especially if you're on a pricing tier that is based on the number of contacts you have.
-
Focus on Quality Over Quantity: Having a large email list is great, but it's more important to have a list of engaged subscribers who are interested in your content or products. By removing unengaged subscribers, you can focus your efforts on those who are more likely to convert and contribute to your business goals.
-
Avoid Spam Complaints: Unengaged subscribers are more likely to mark your emails as spam if they no longer want to receive them. This can negatively impact your sender reputation and deliverability, potentially affecting the delivery of your emails to engaged subscribers.
How to Suppress Unengaged Subscribers
ℹ️ What is a suppressed profile? When a profile is suppressed for email, they cannot receive marketing messages. A suppressed profile cannot receive marketing messages, even if they have provided consent and indicated they want to receive emails.
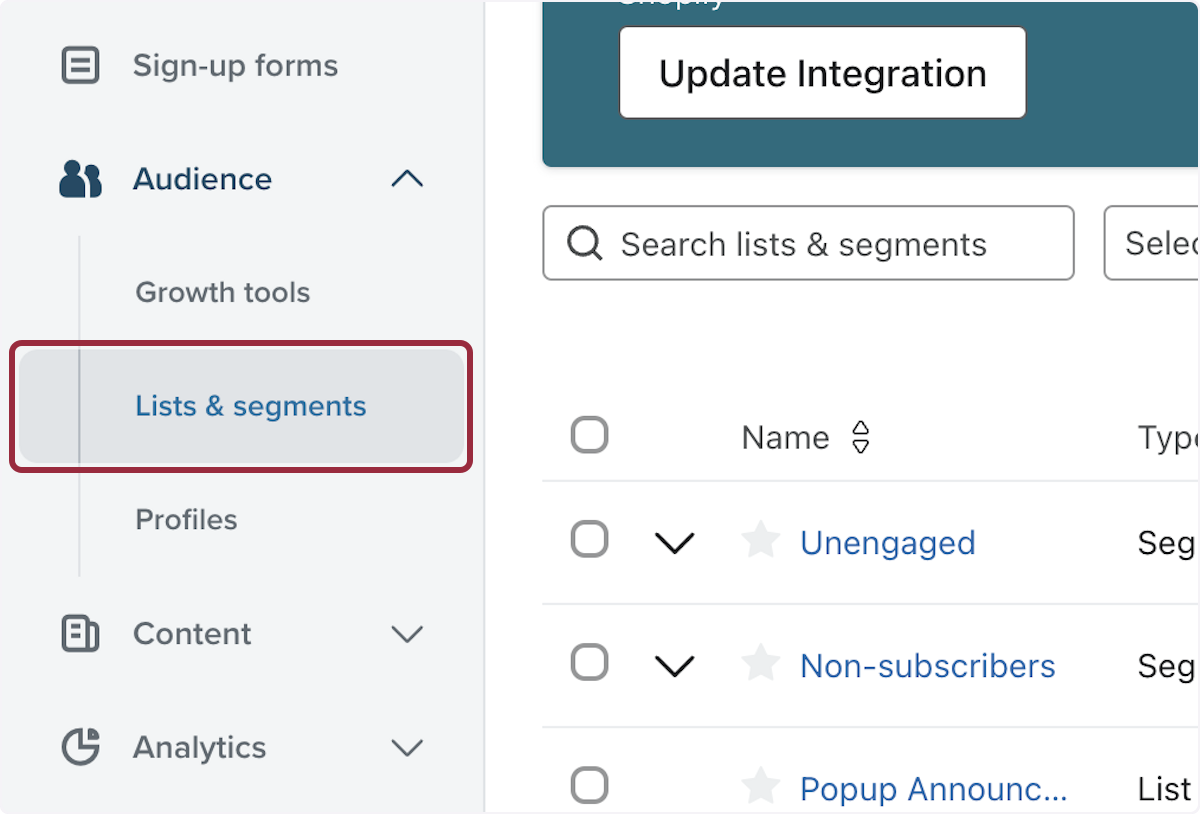
1. Click on Lists & segments
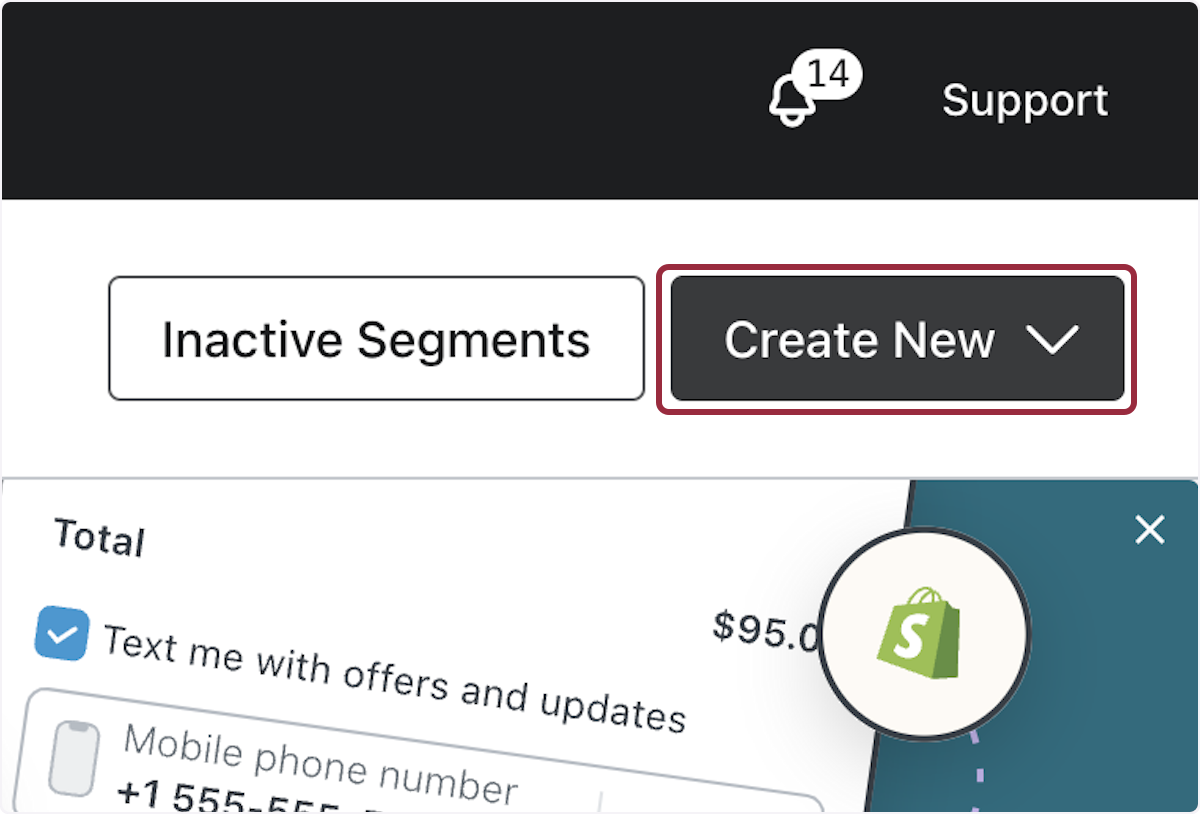
2. Click on Create New
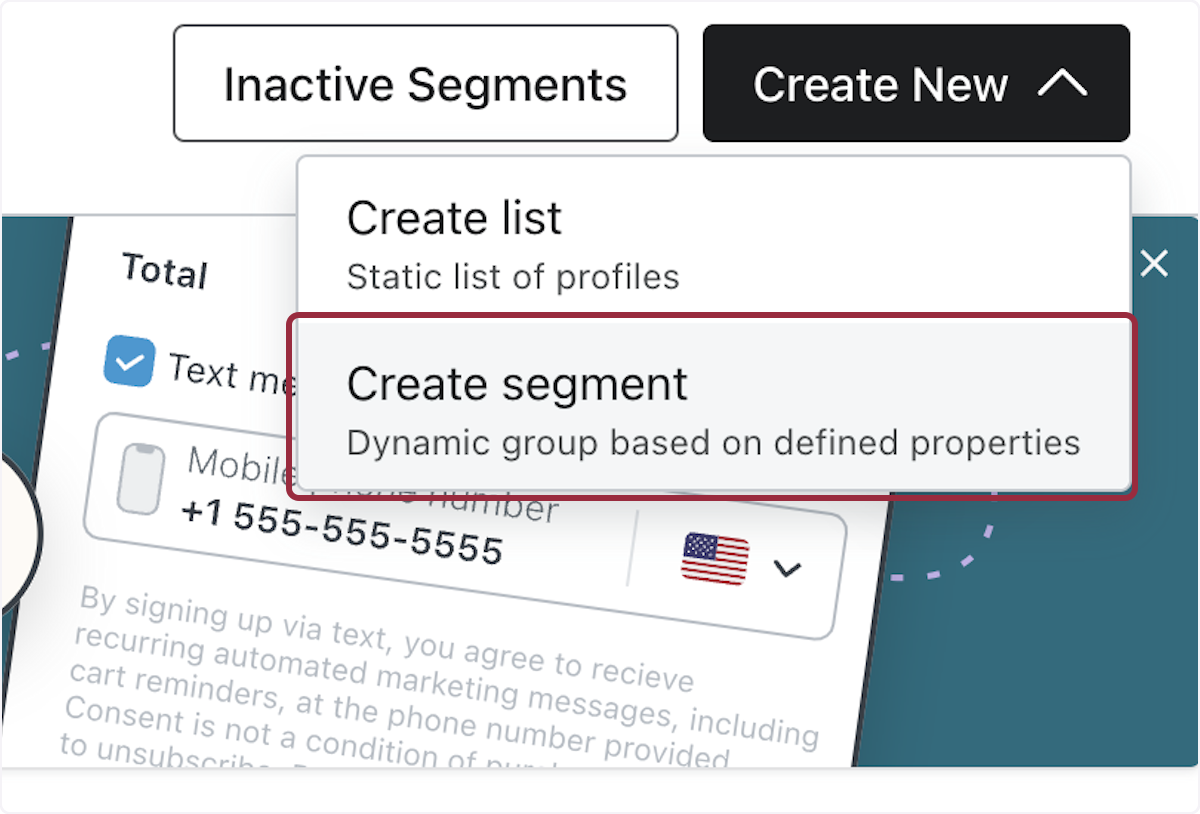
3. Click on Create segment…
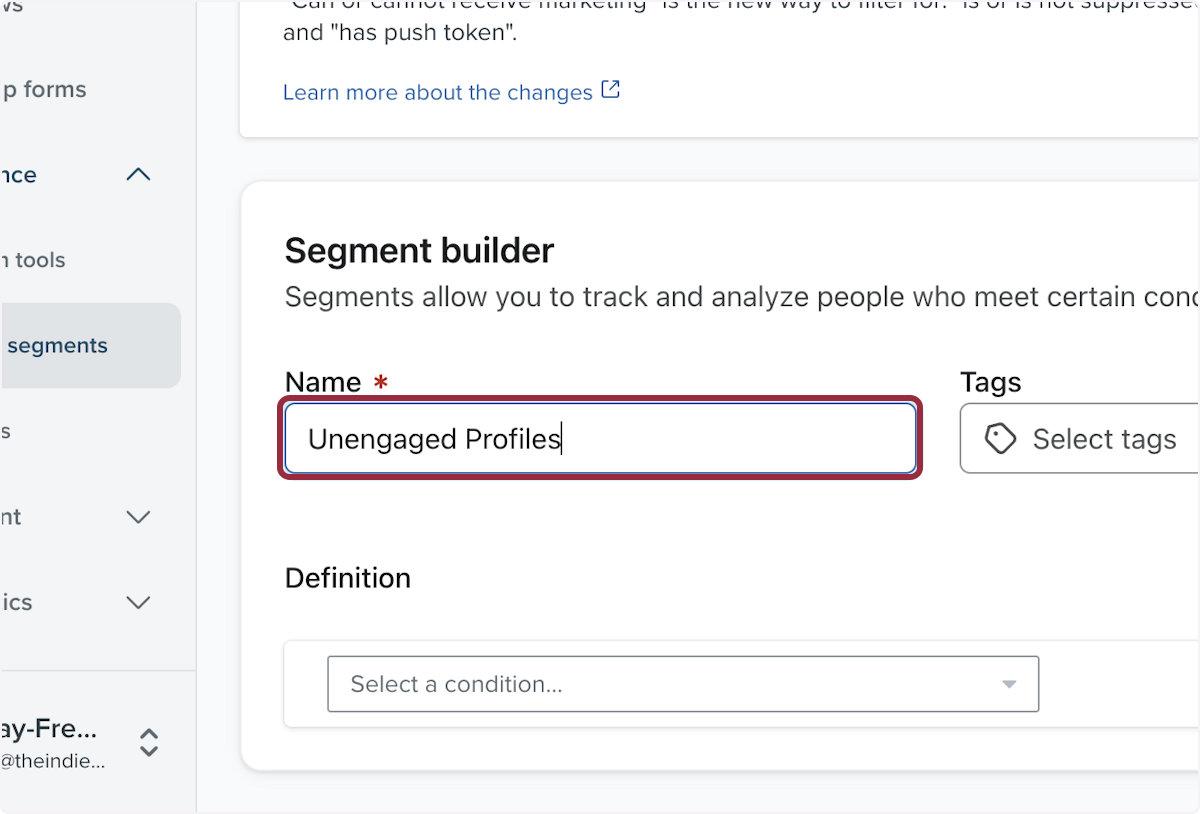
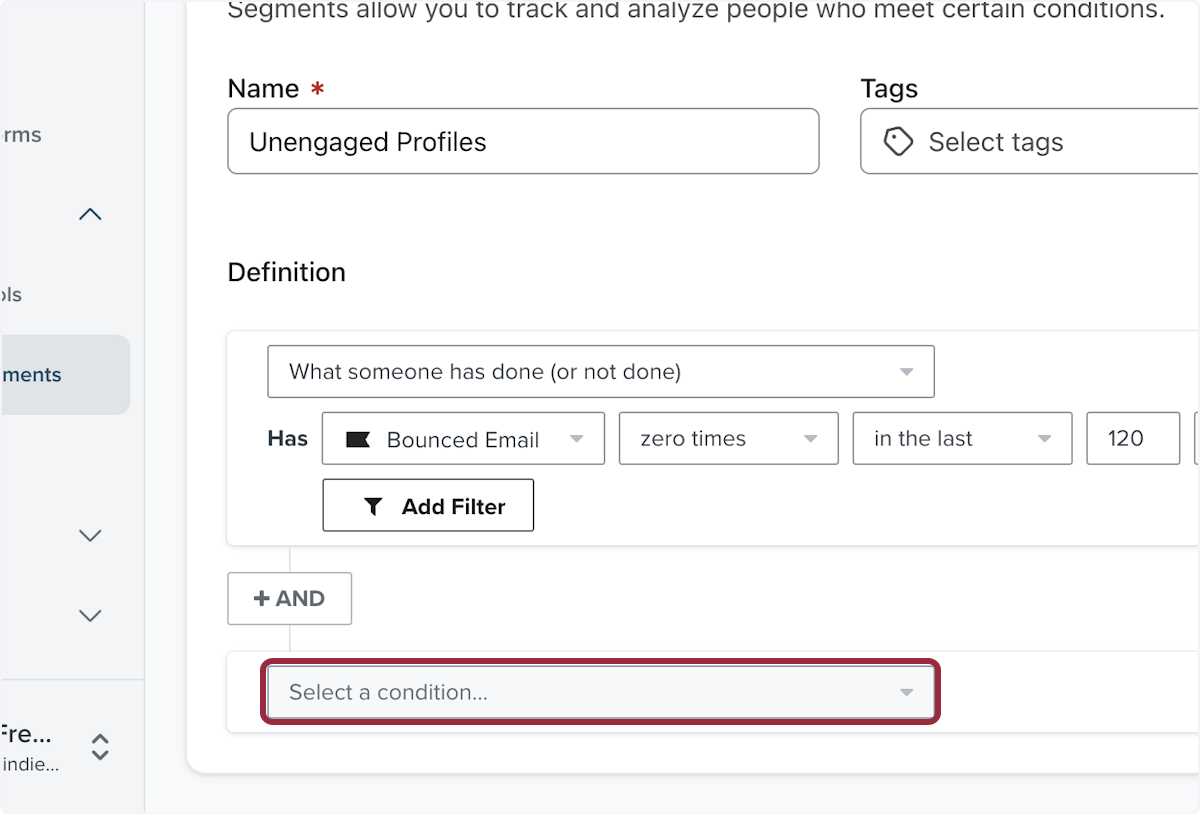
4. Name your segment "Unengaged Profiles"
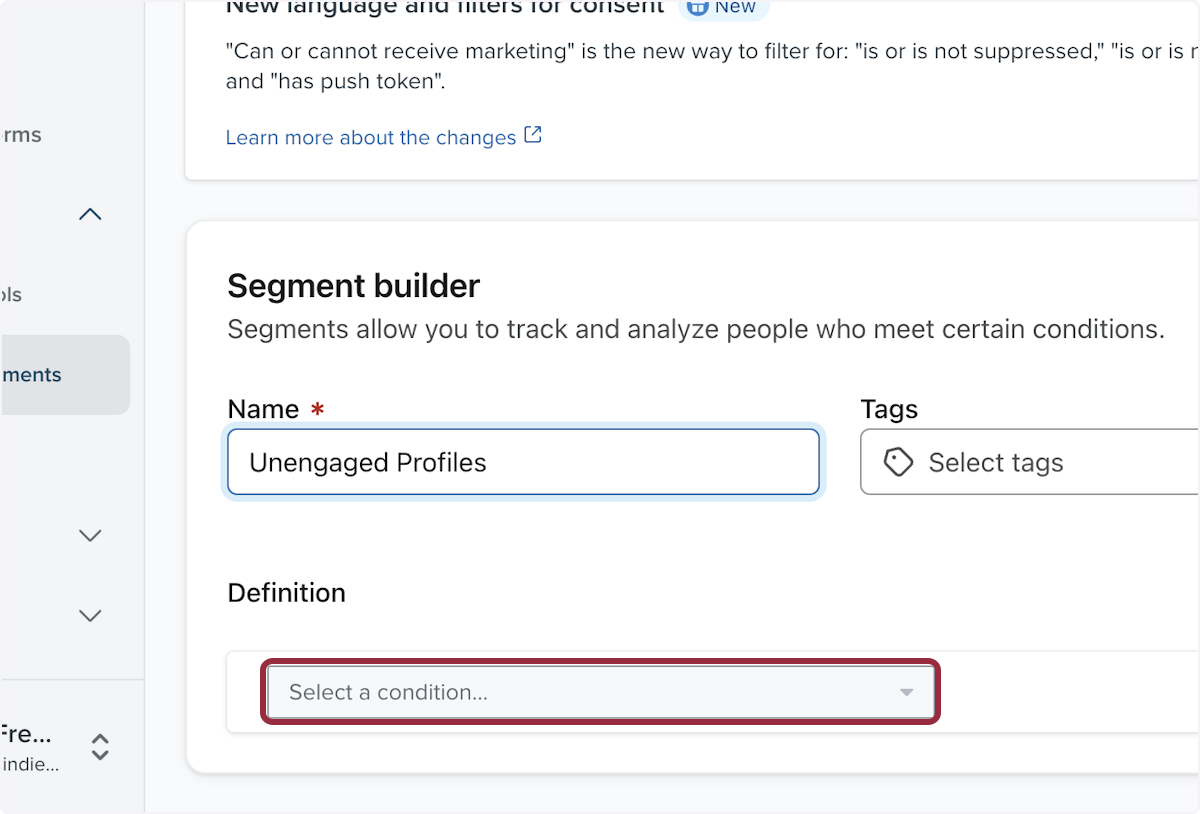
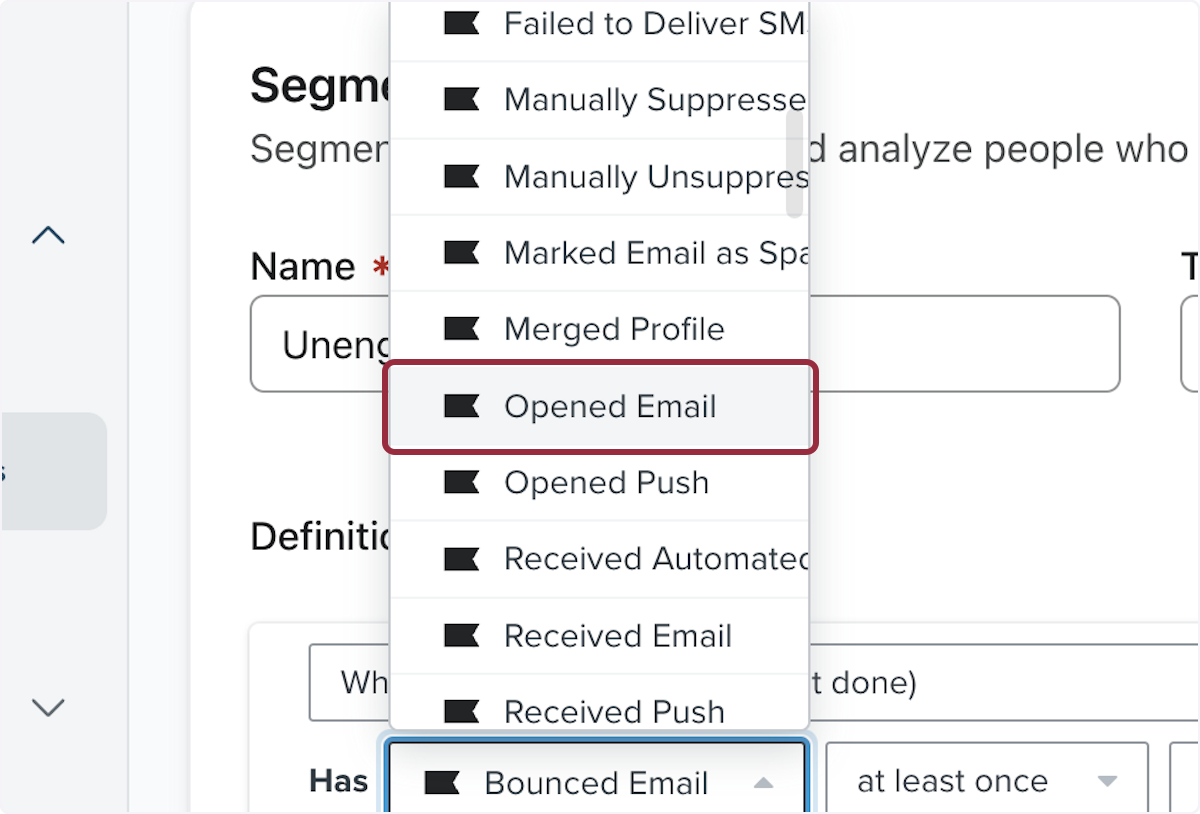
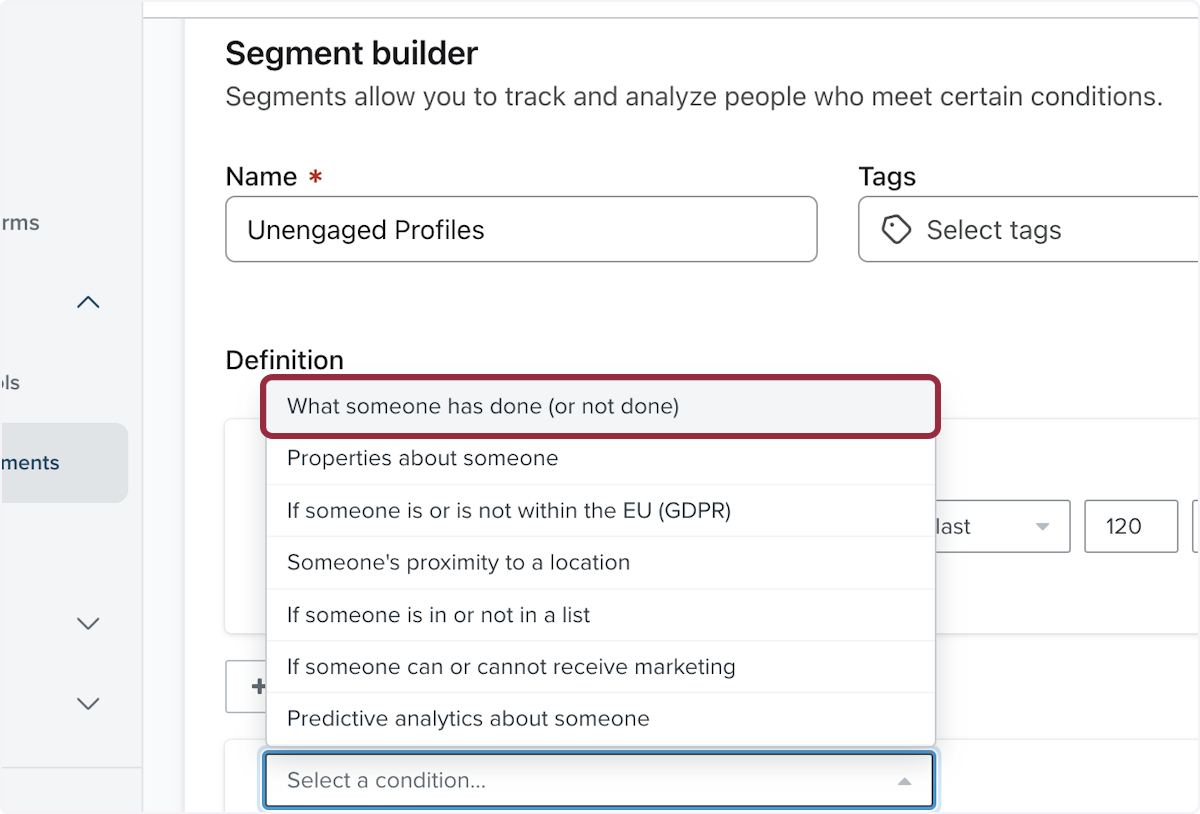
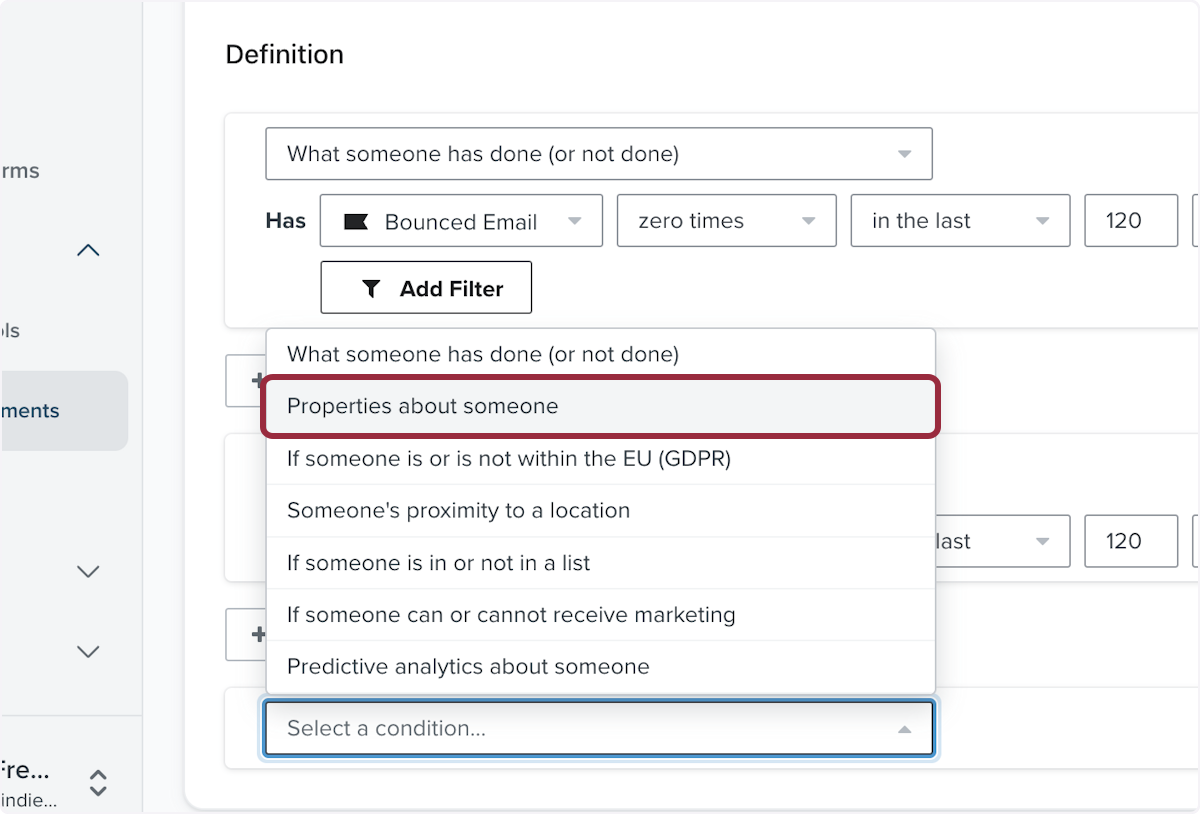
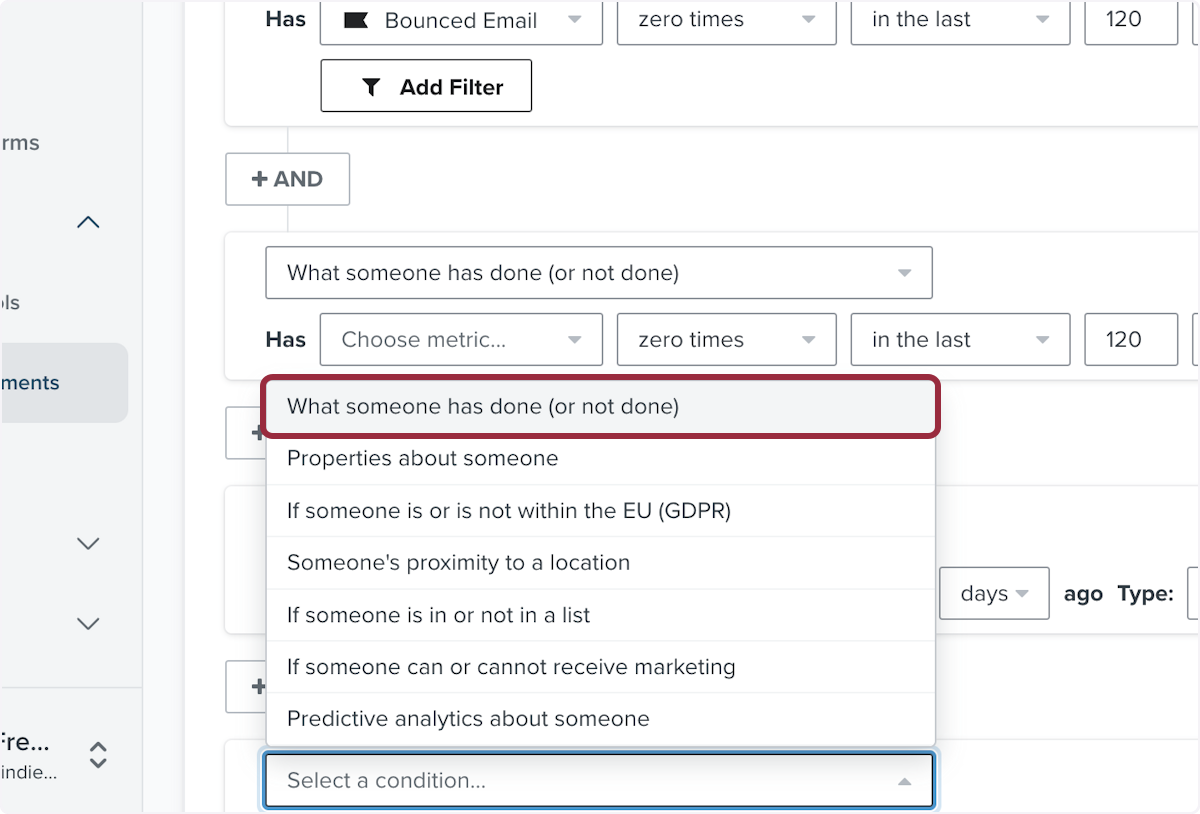
5. Click on Select a condition…
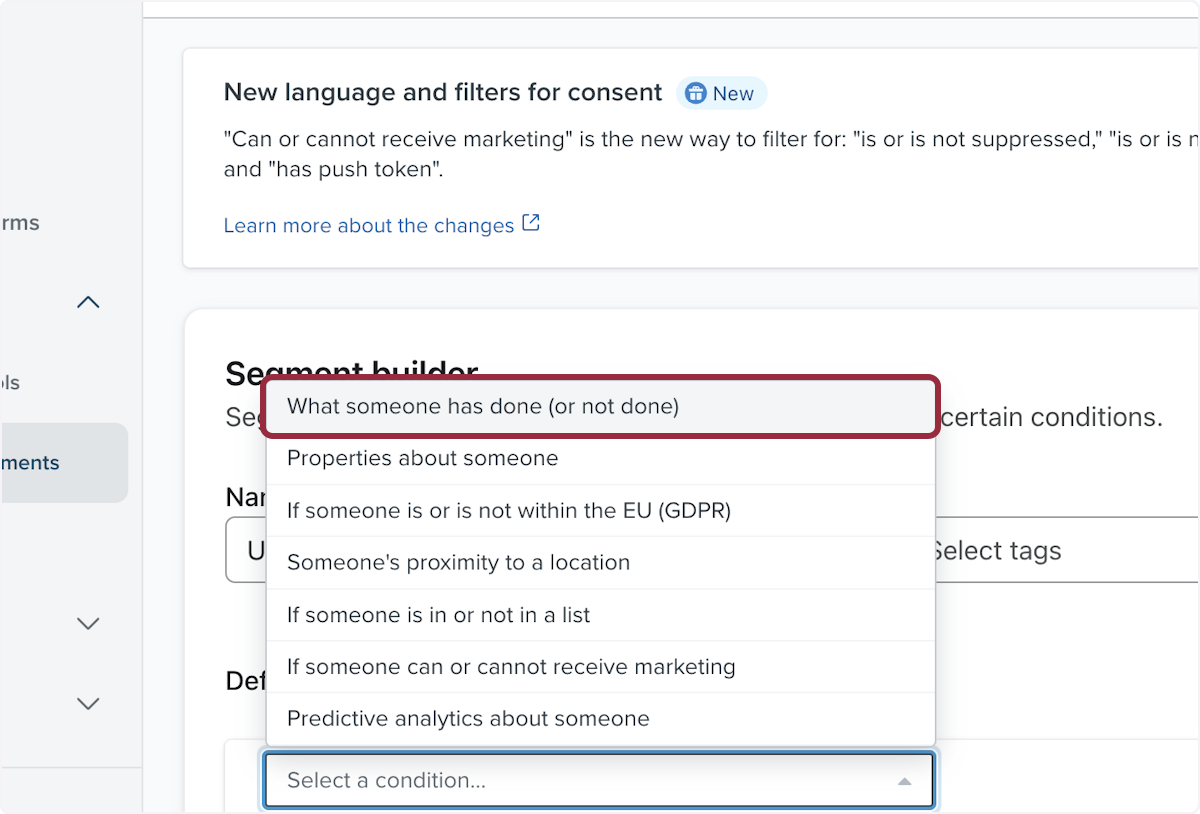
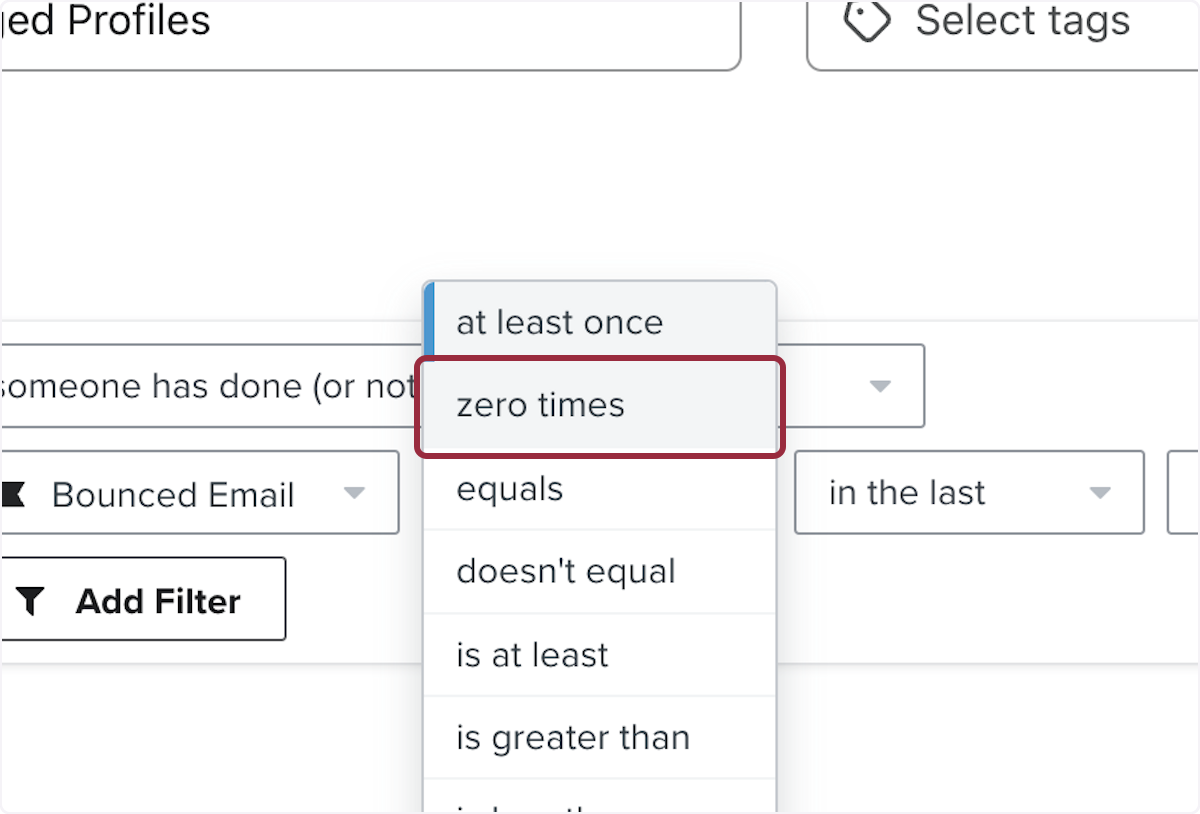
6. Click on What someone has done (or not done)
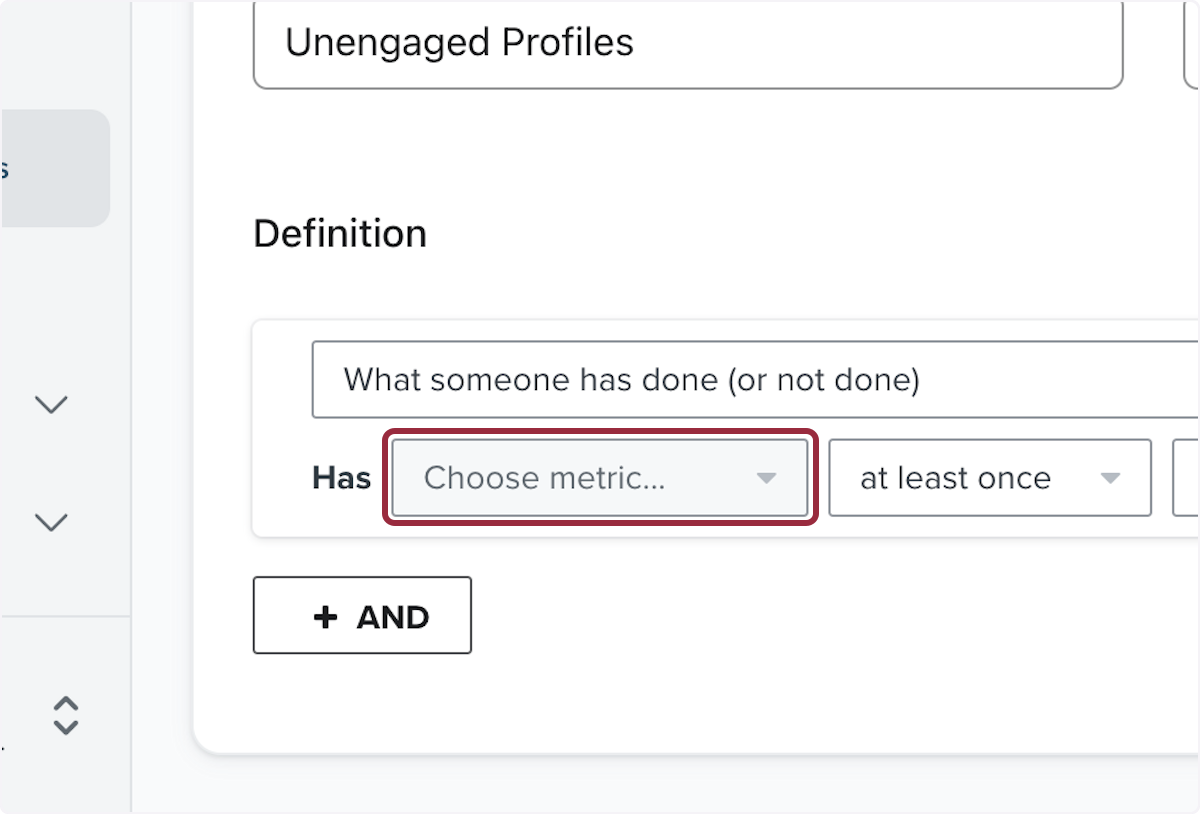
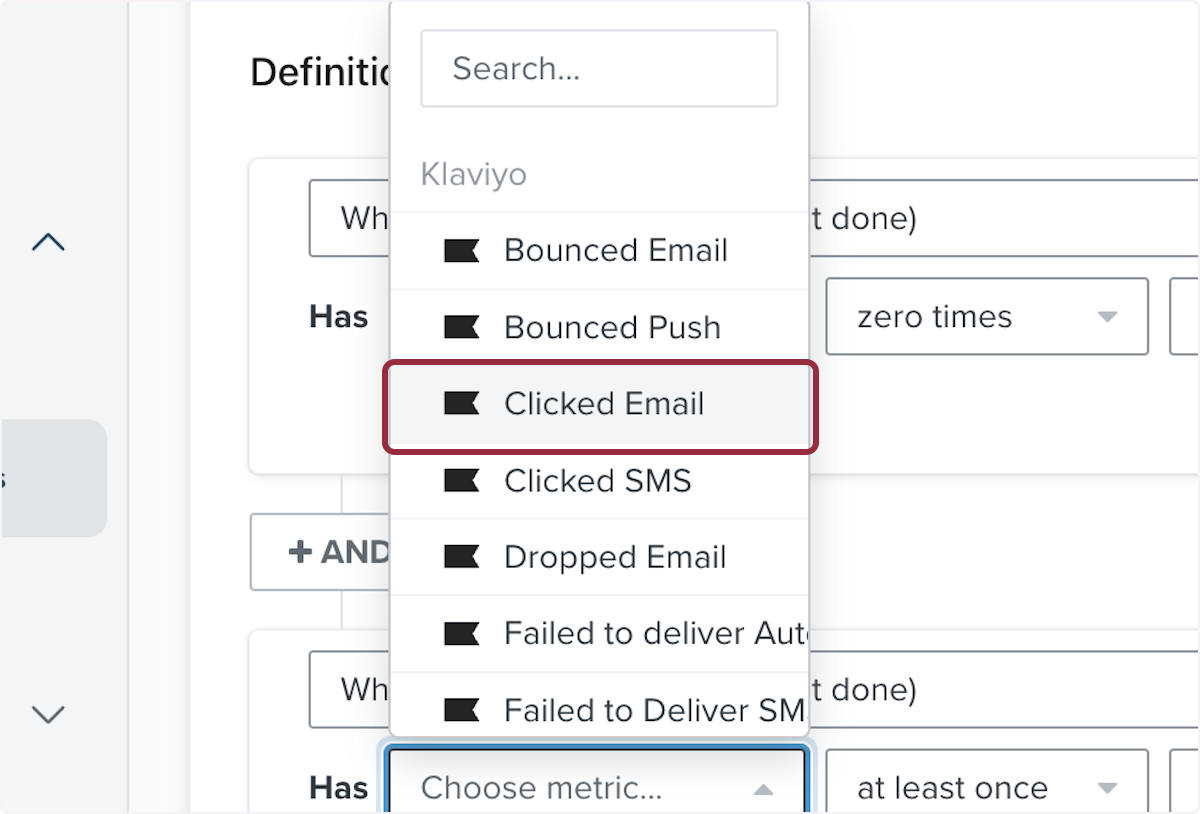
7. Click on Select a metric
8. Click on Opened Email
9. Click on Select
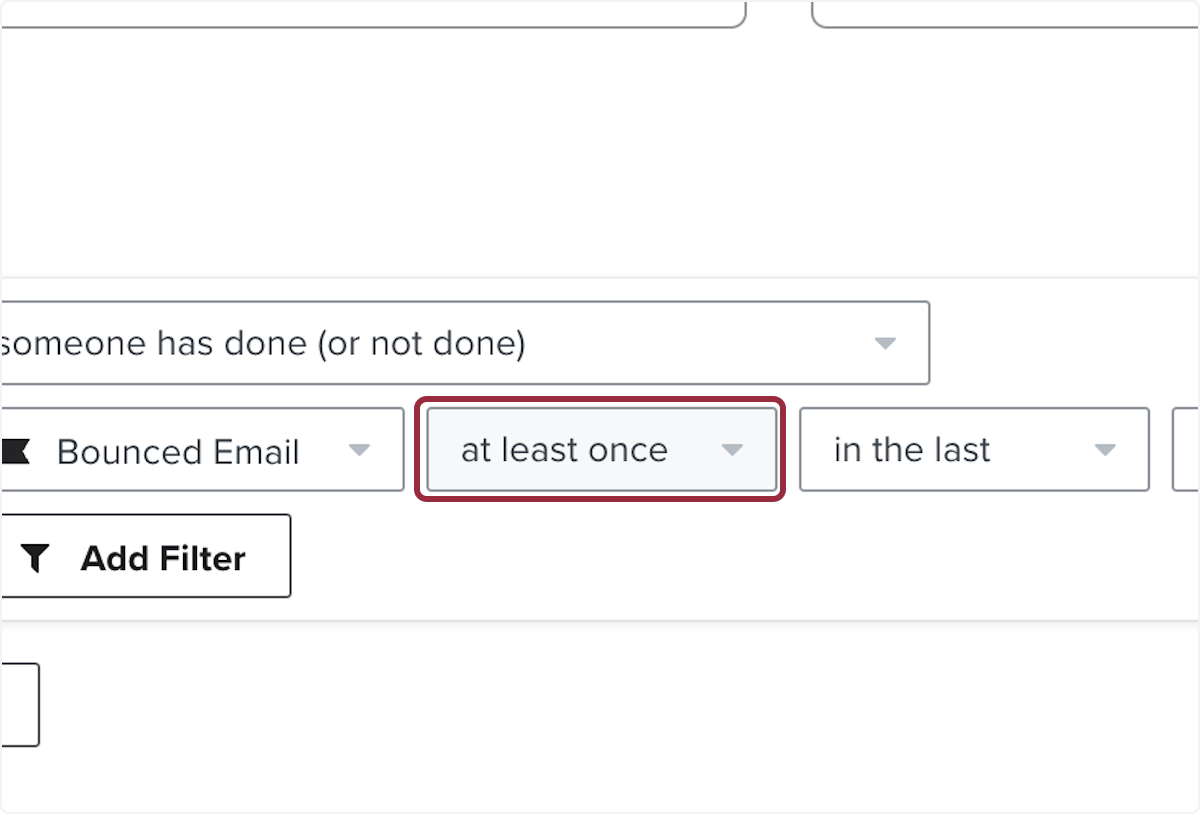
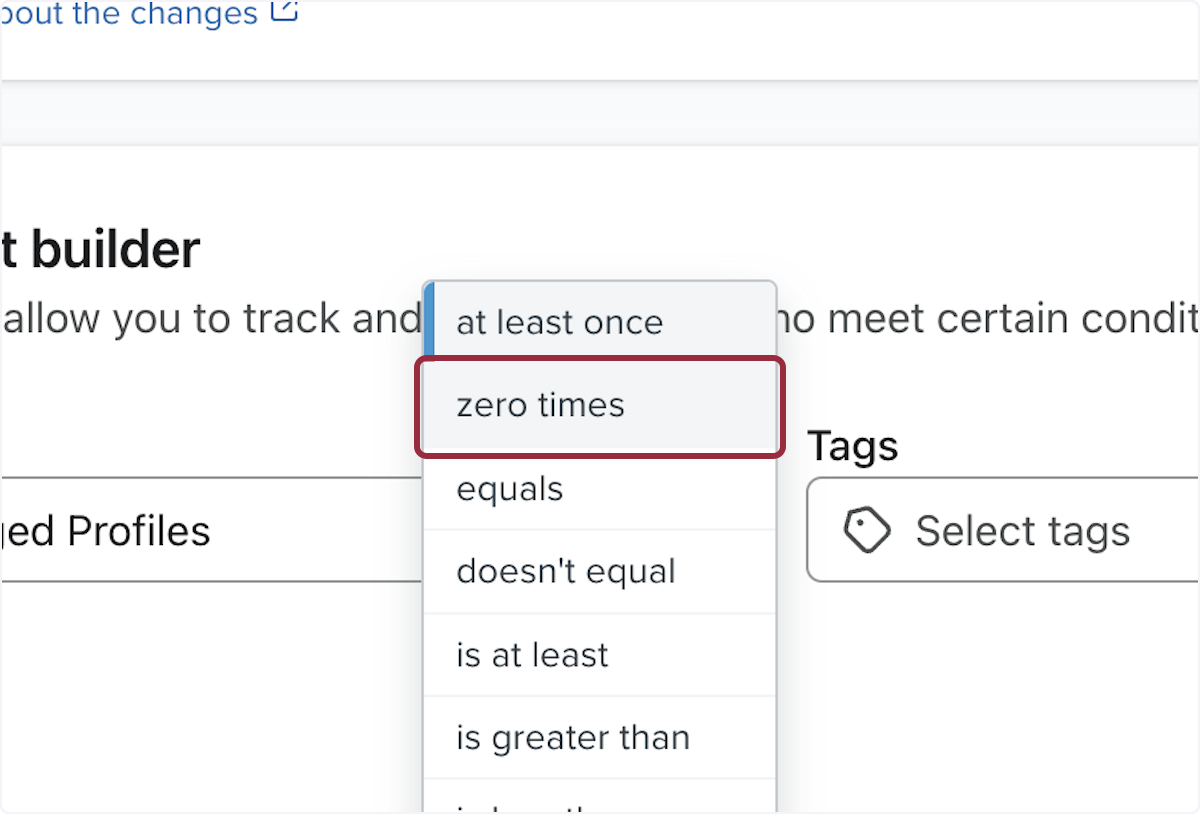
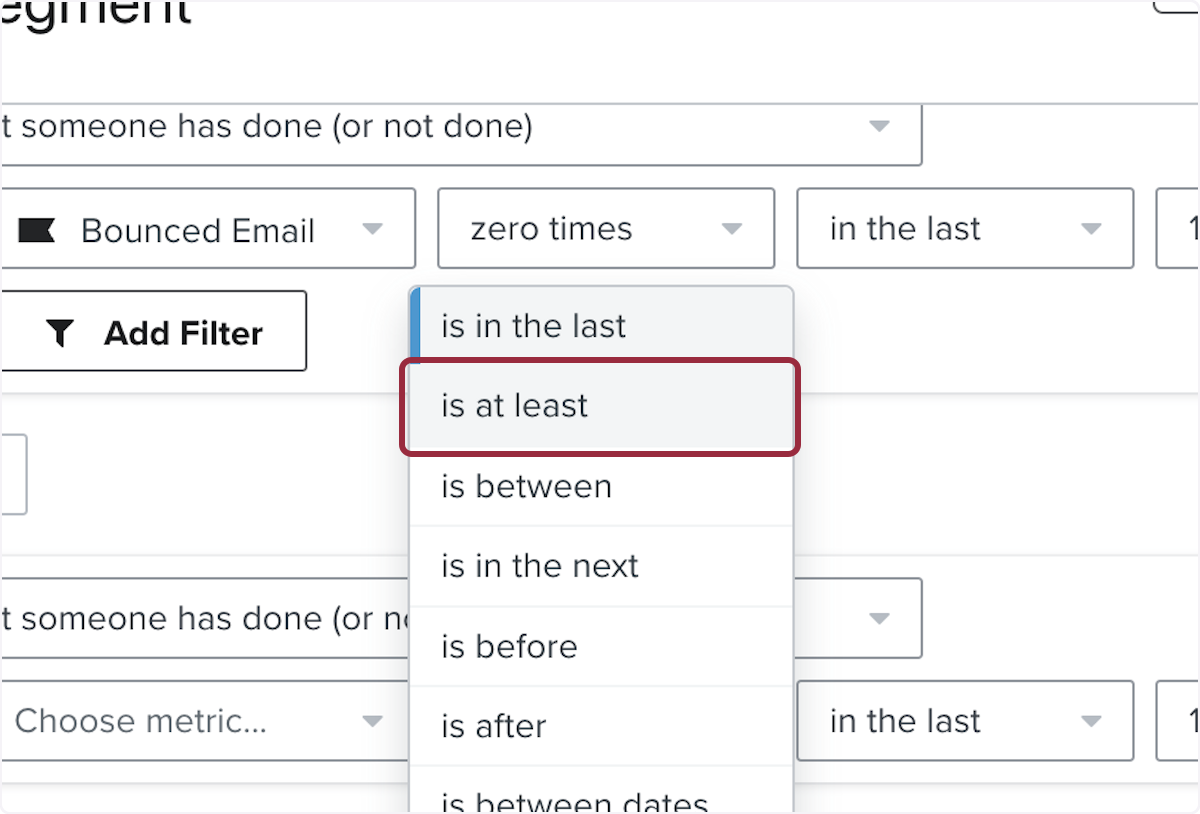
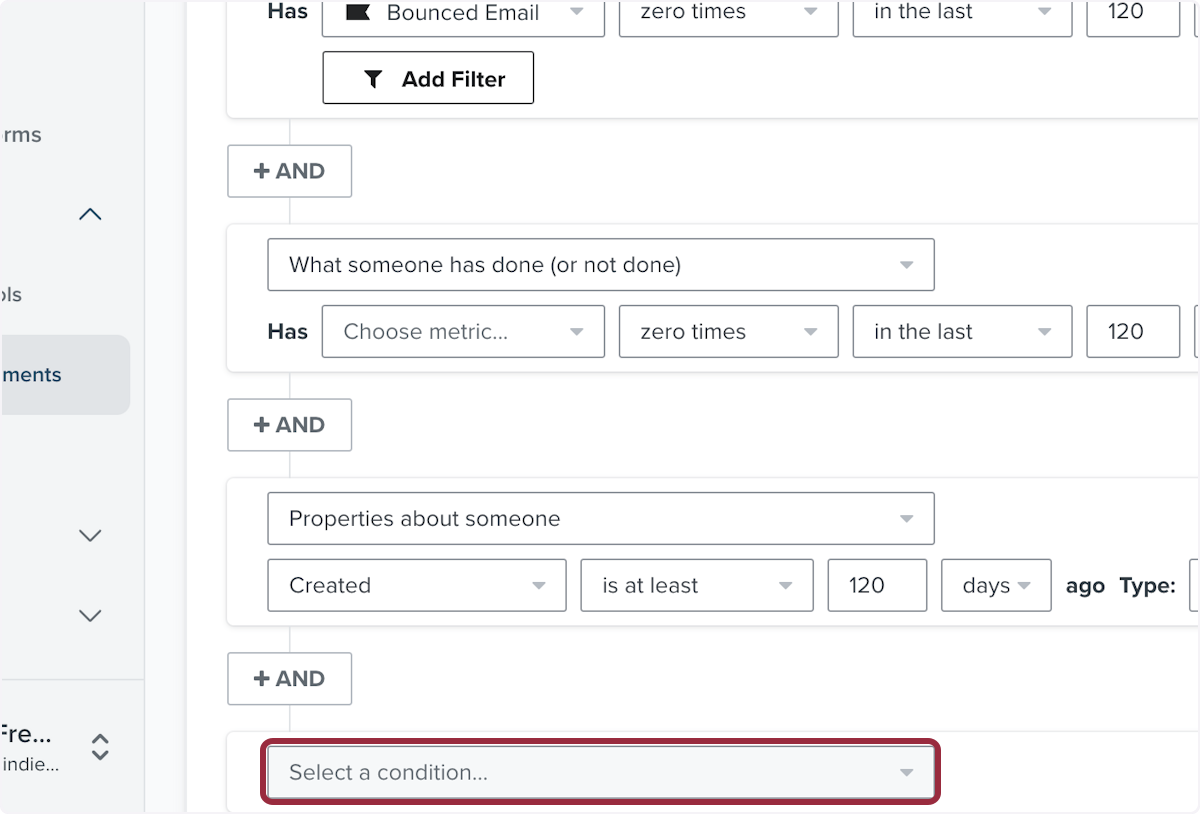
10. Click on zero times
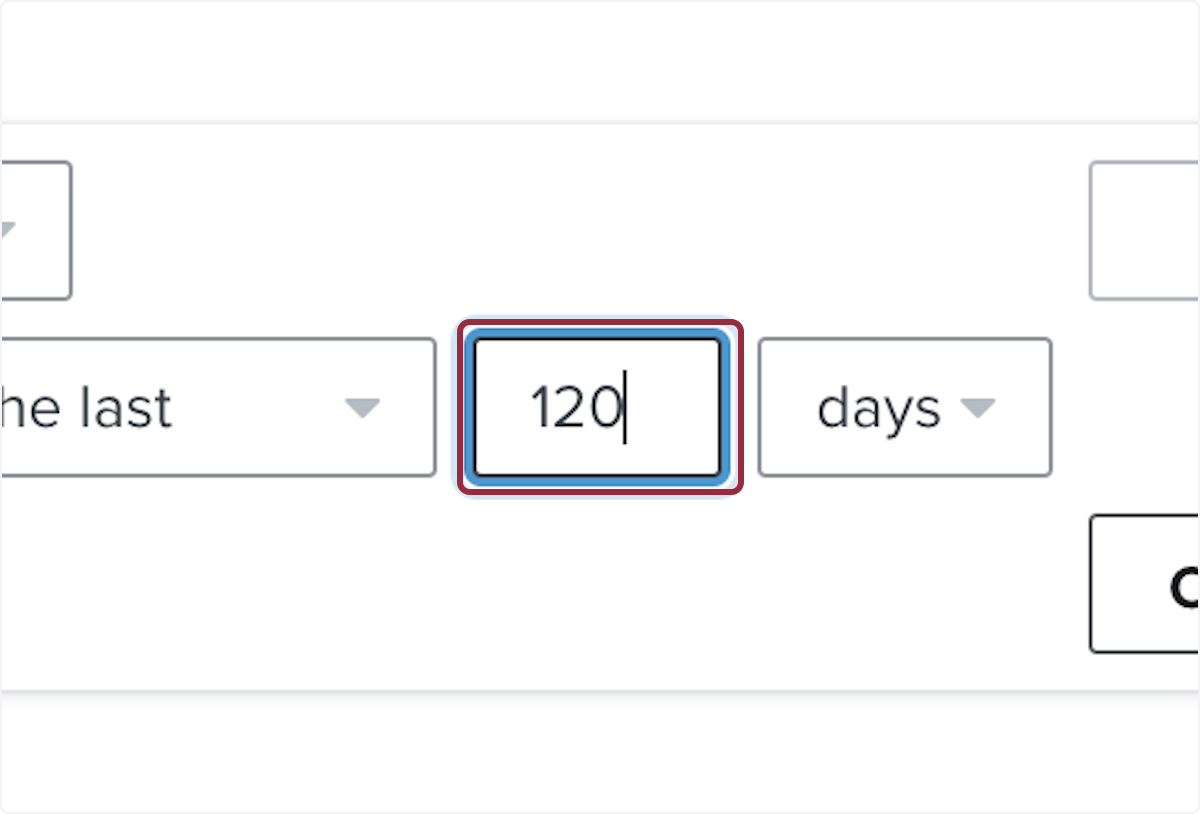
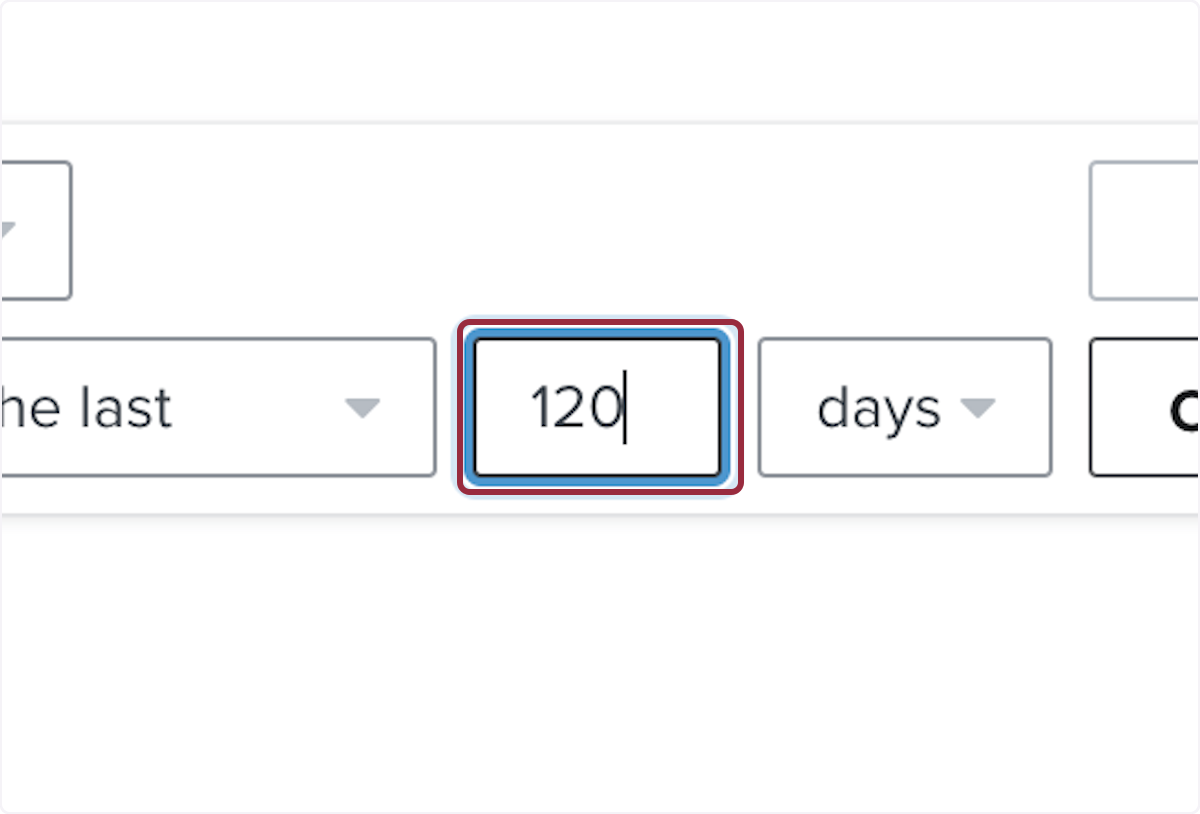
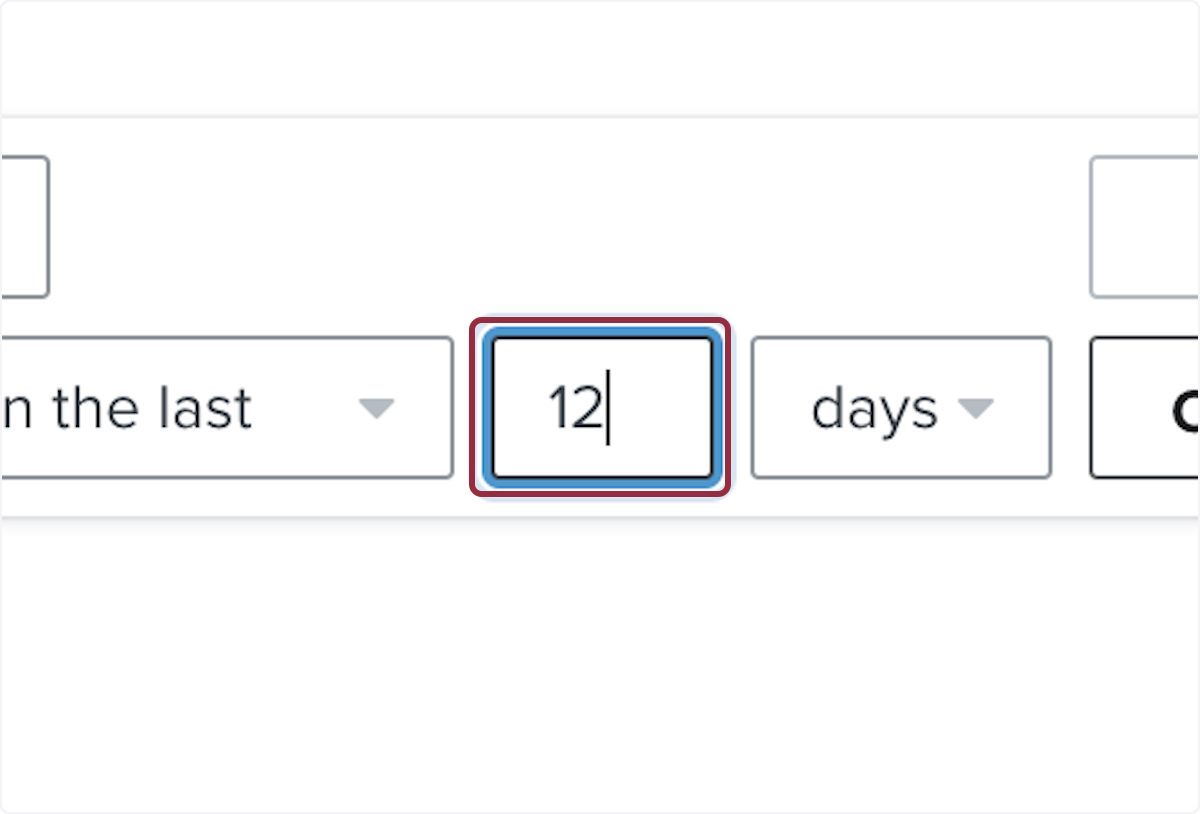
11. Choose a date range, usually between 90 to 180 days. I chose 120
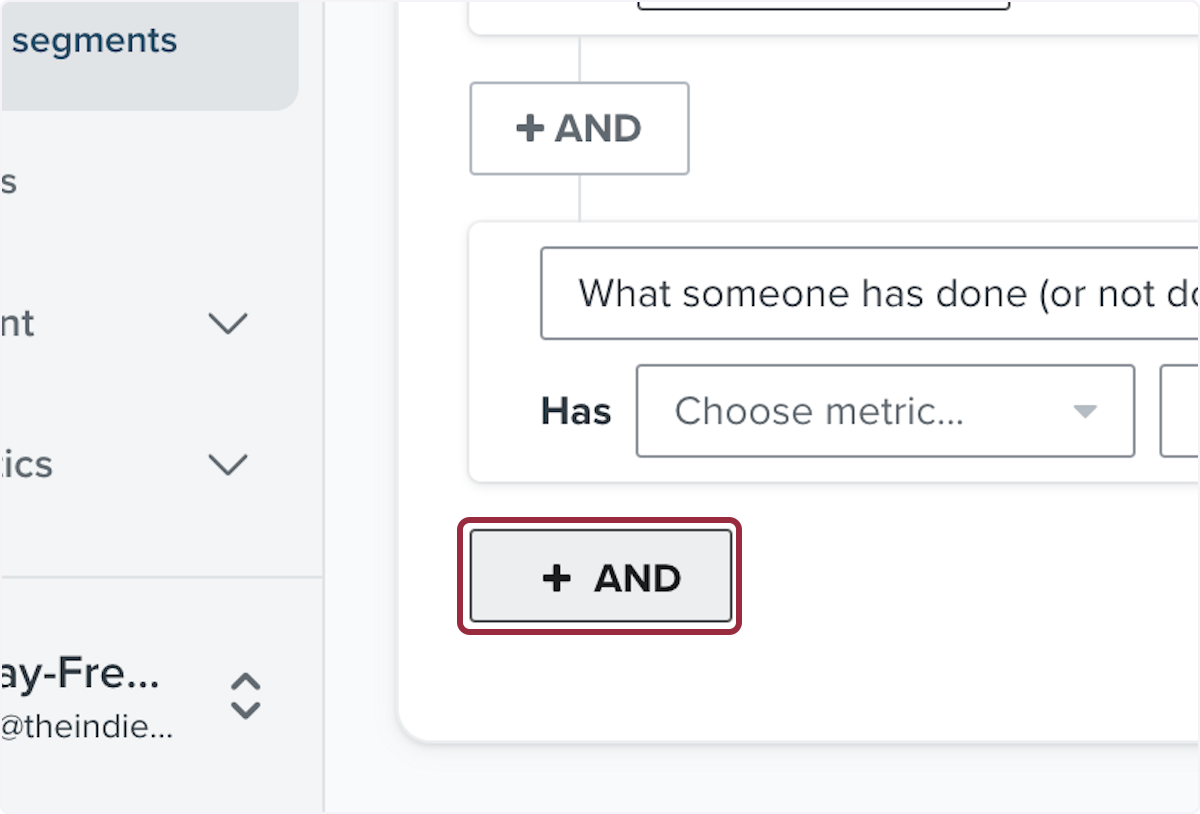
12. Click on AND
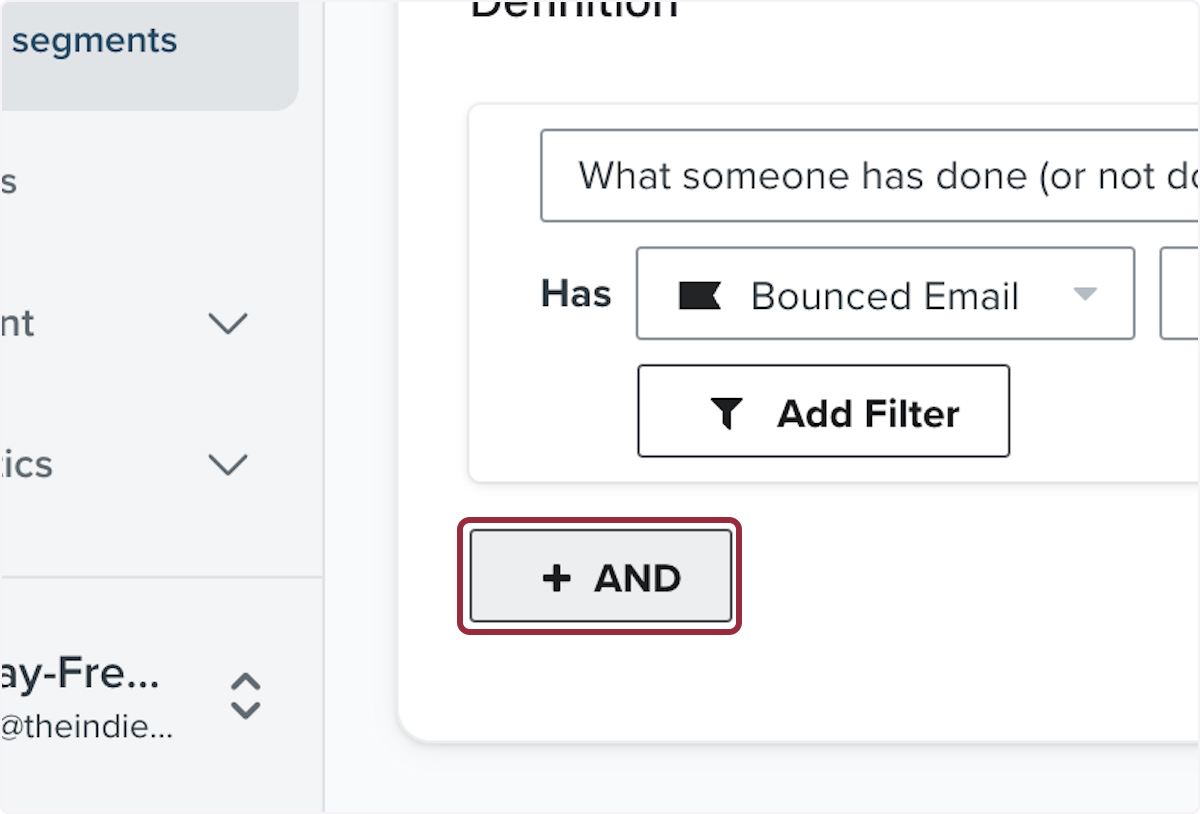
13. Click on Select a condition…
14. Click on What someone has done (or not done)
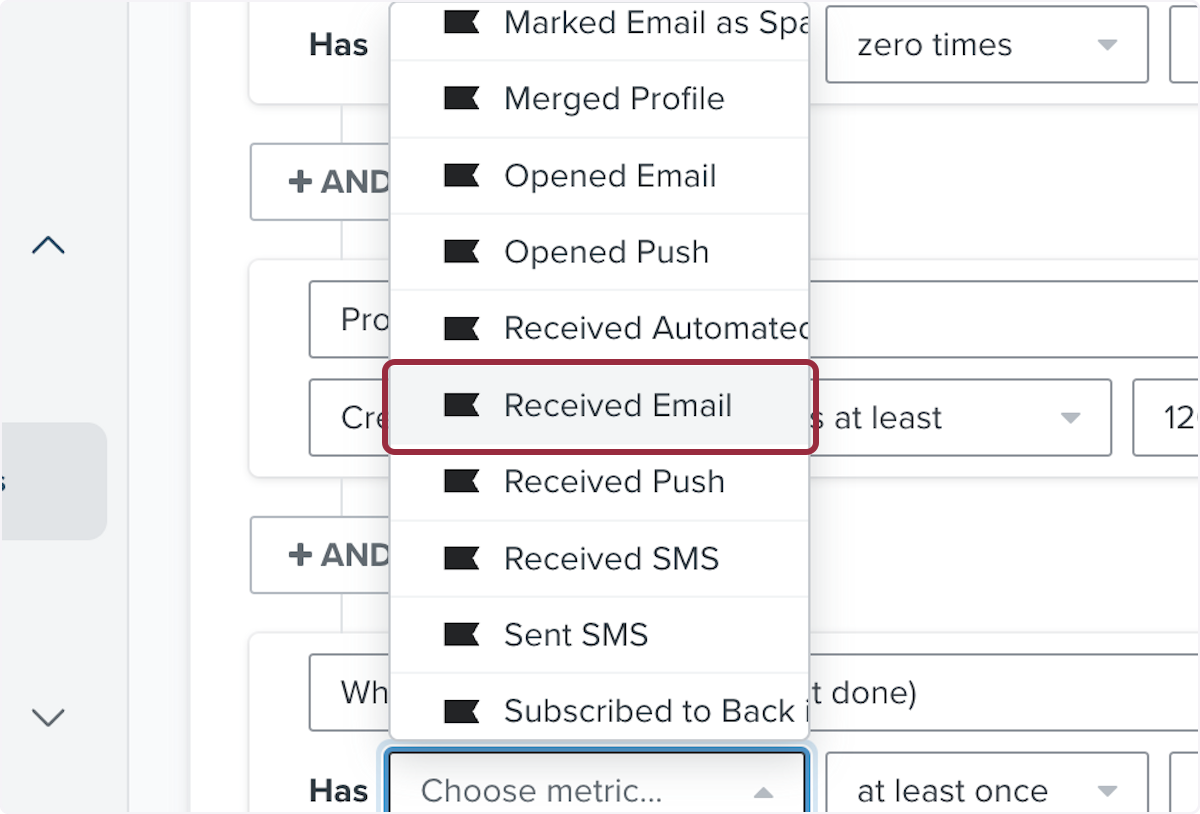
15. Click on Select a metric

16. Click on Clicked Email
17. Click on Select

18. Click on zero times
19. Use the same number of days as entered in the previous step
20. Click on AND
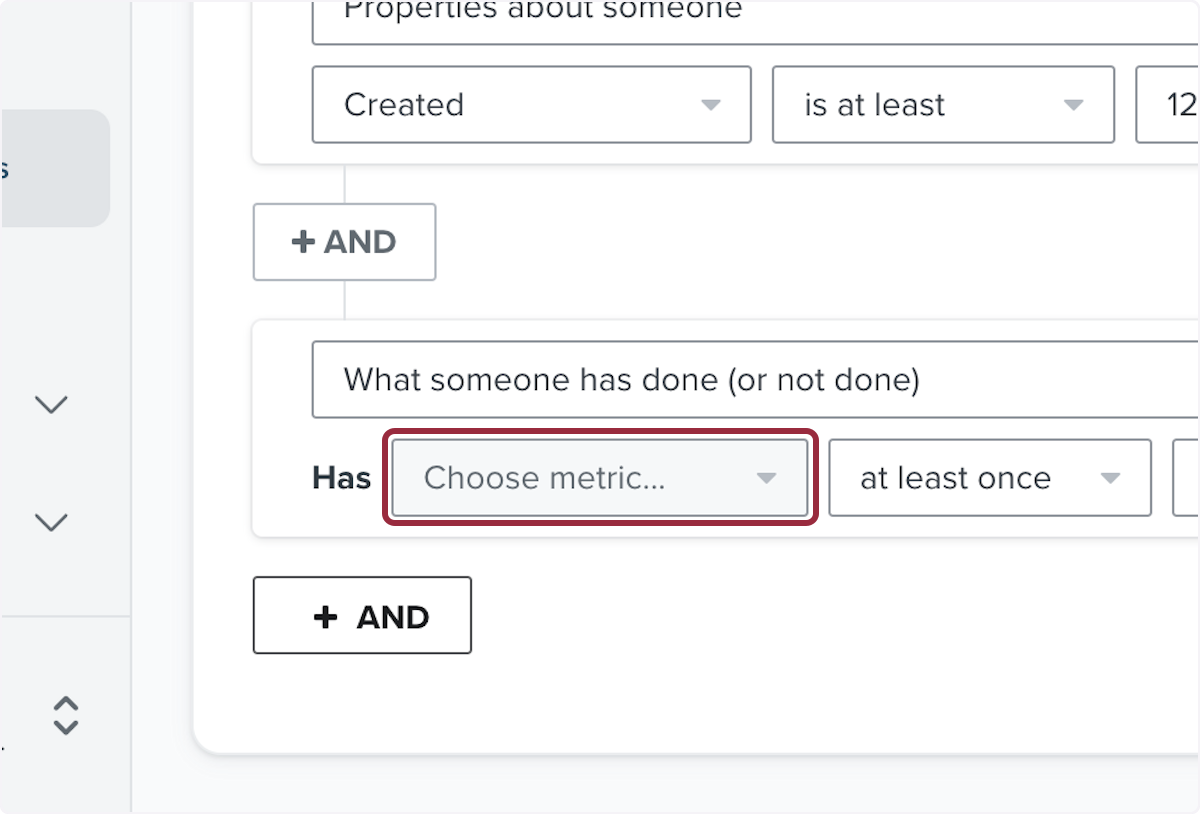
21. Click on Select a condition…
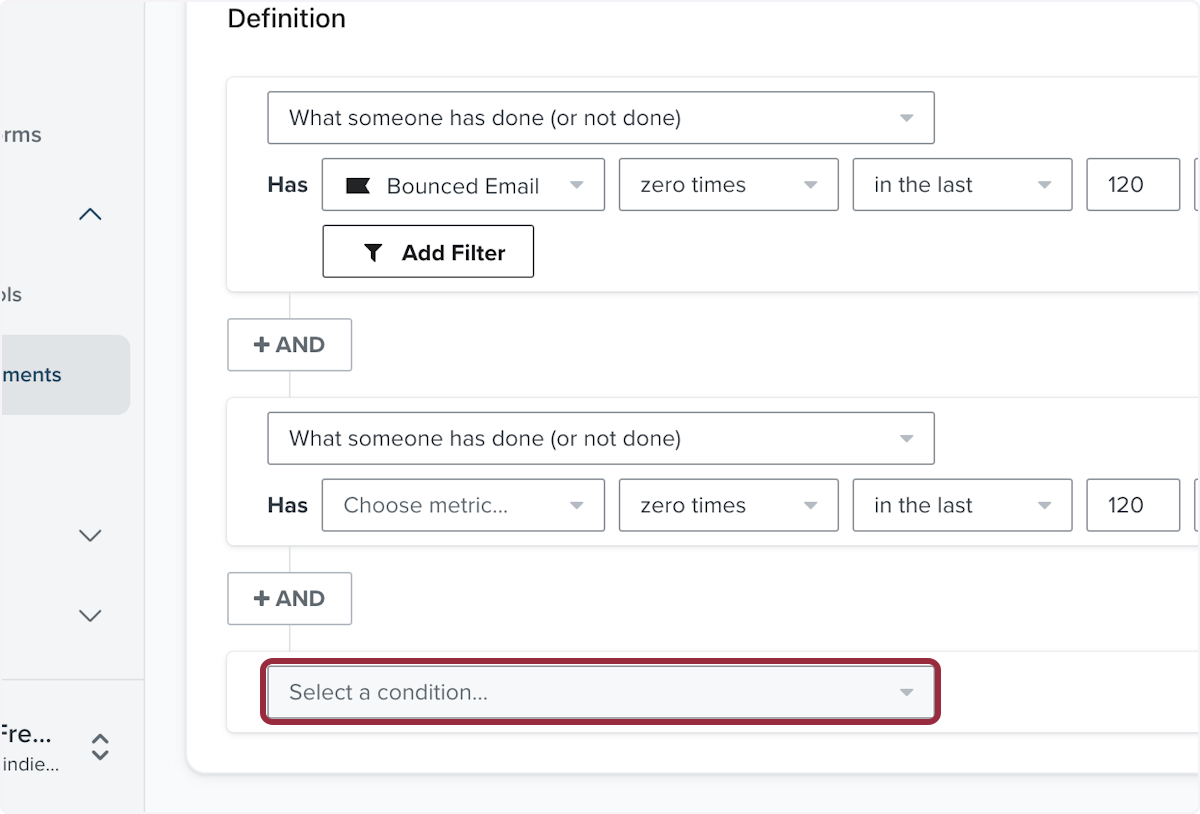
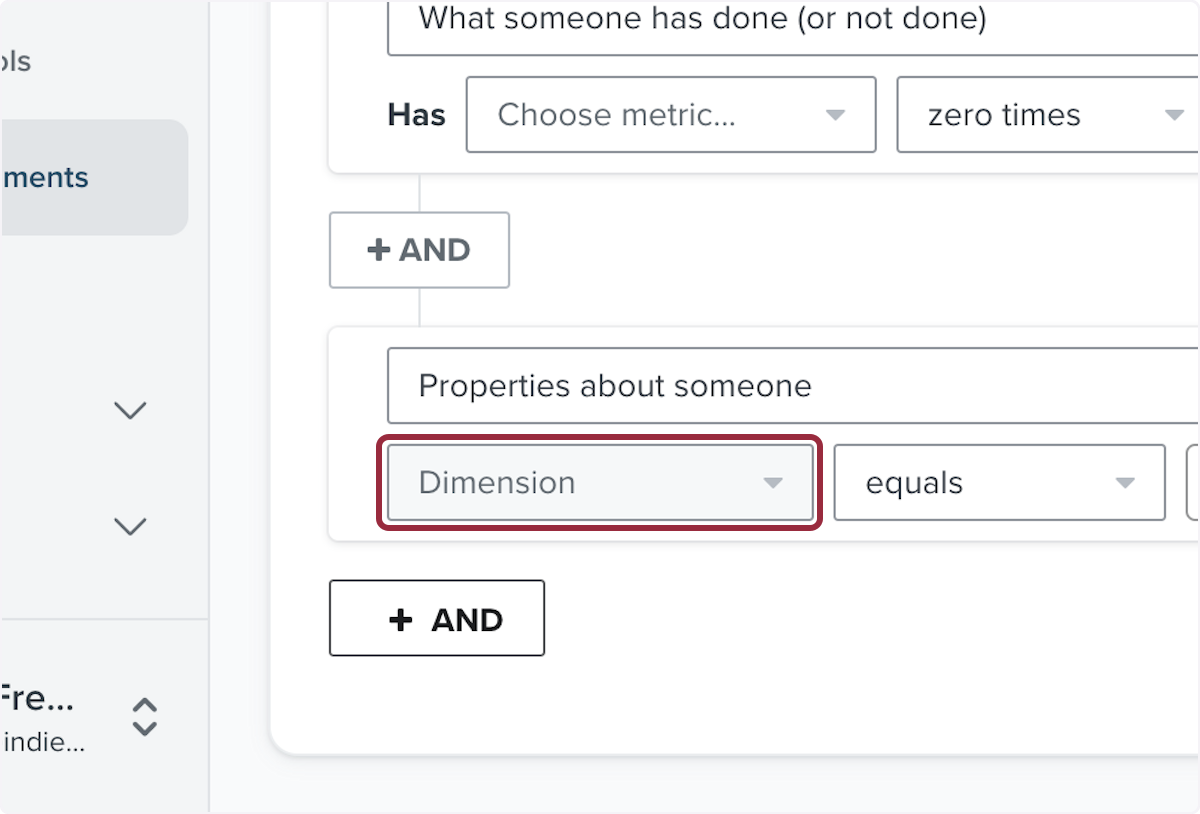
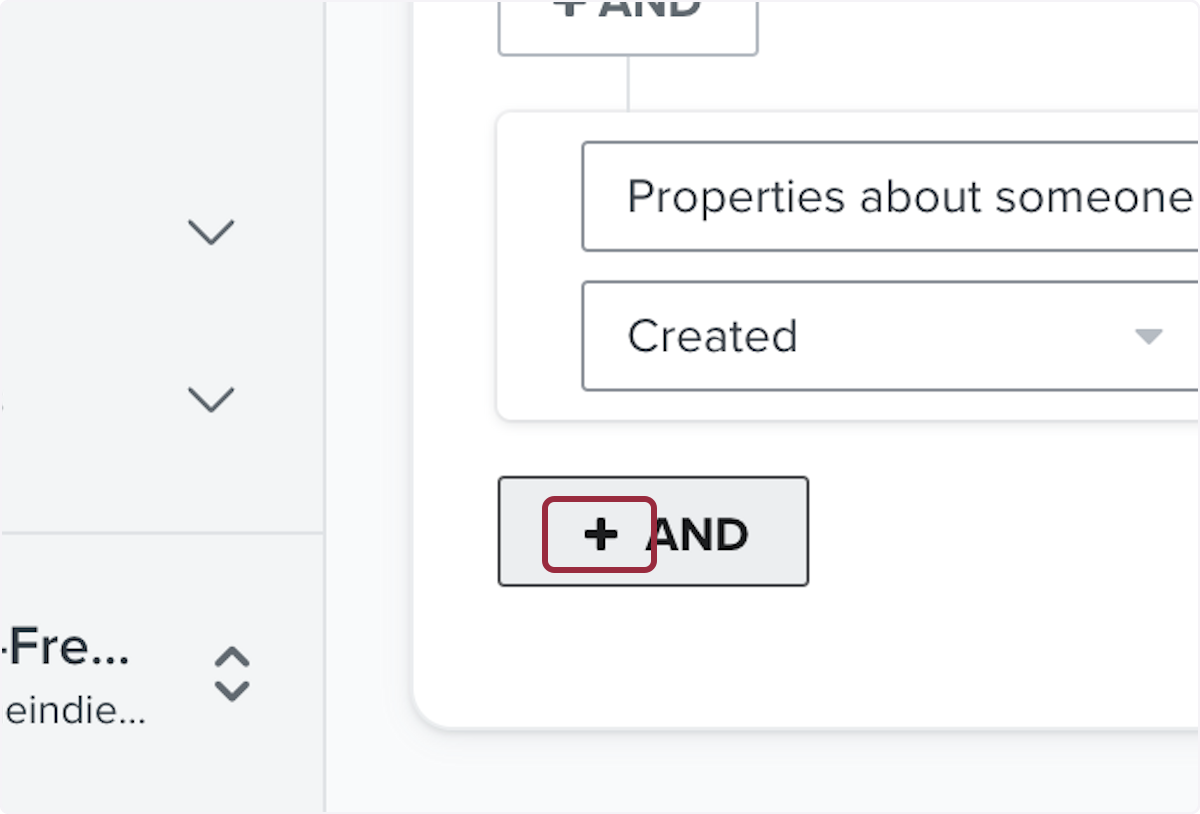
22. Click on Properties about someone
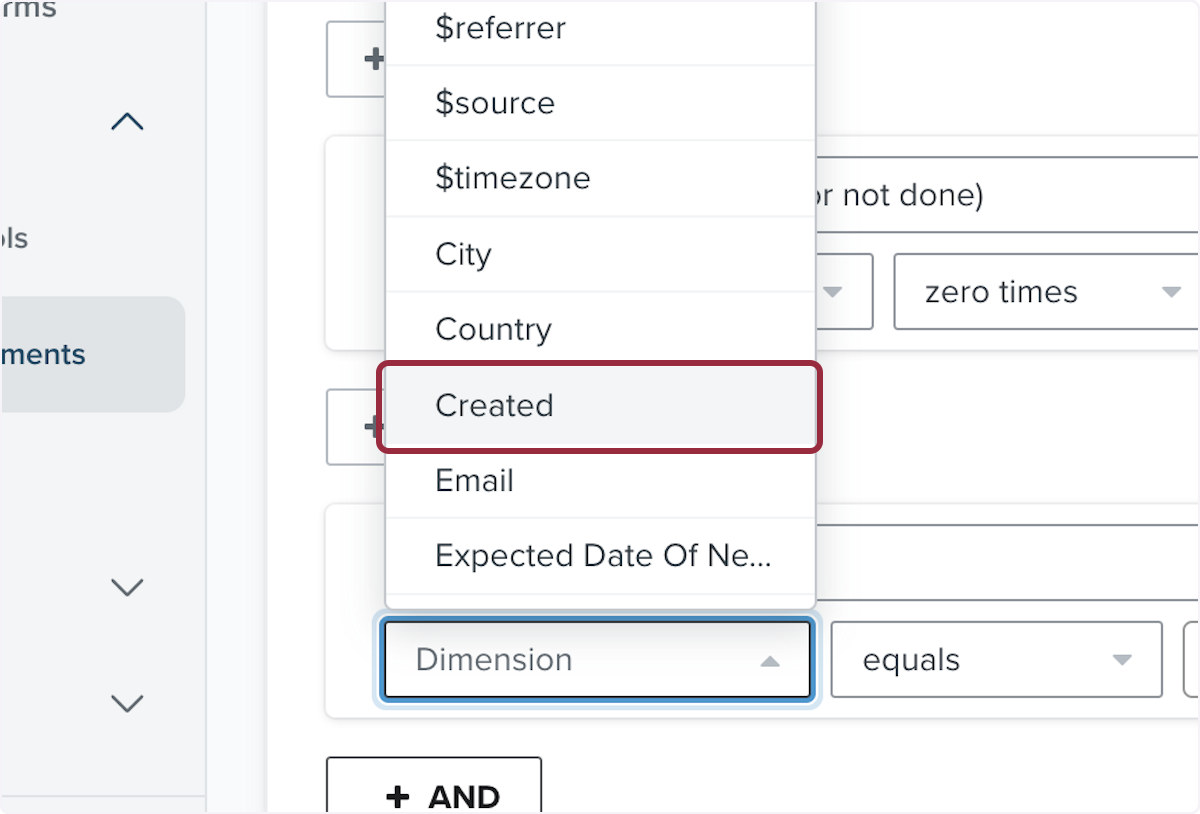
23. Click on Dimension
24. Click on Created
This is when the profile was created in Klaviyo
25. Click on the time period
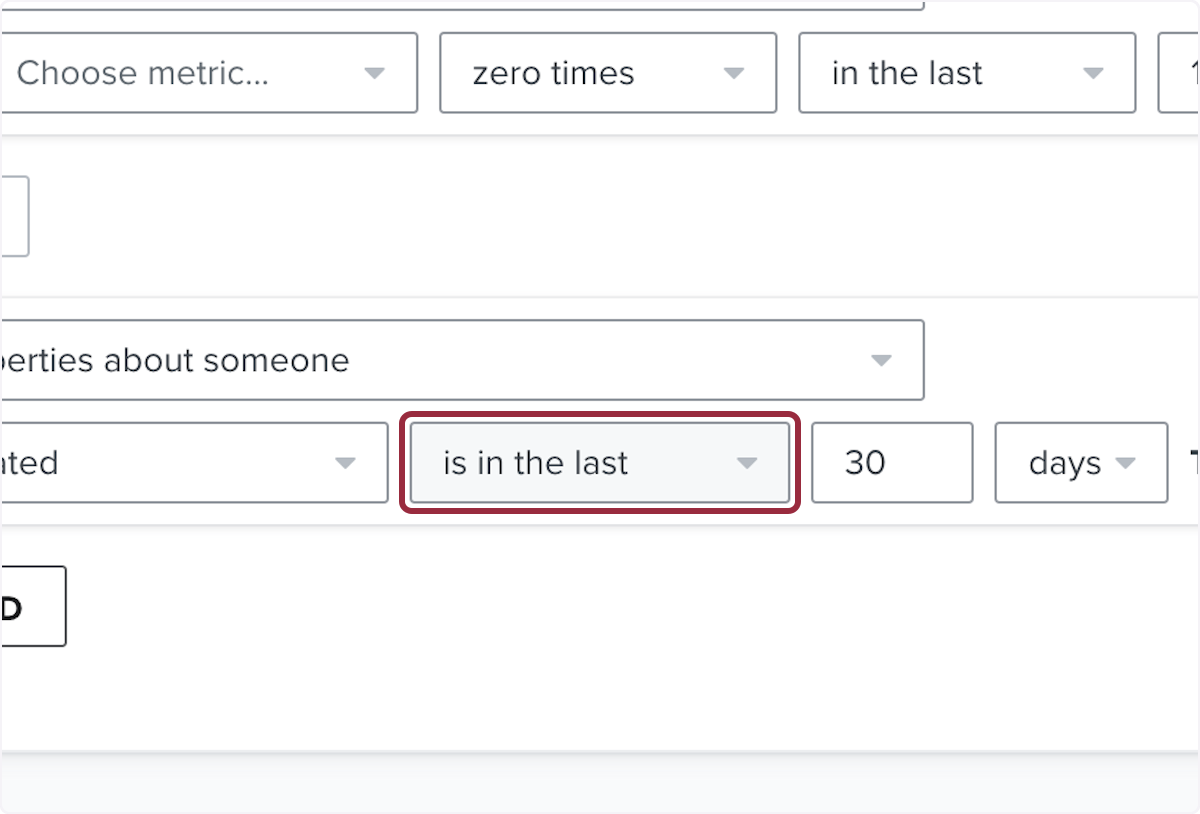
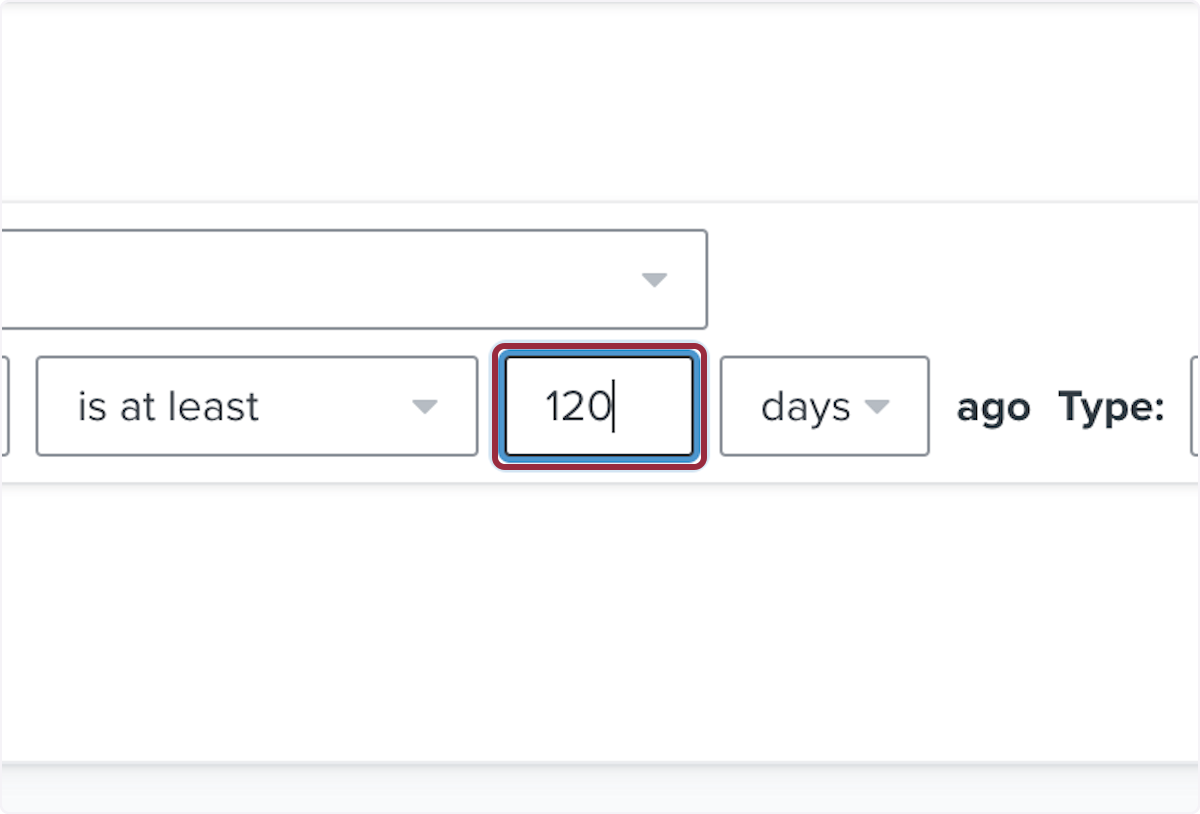
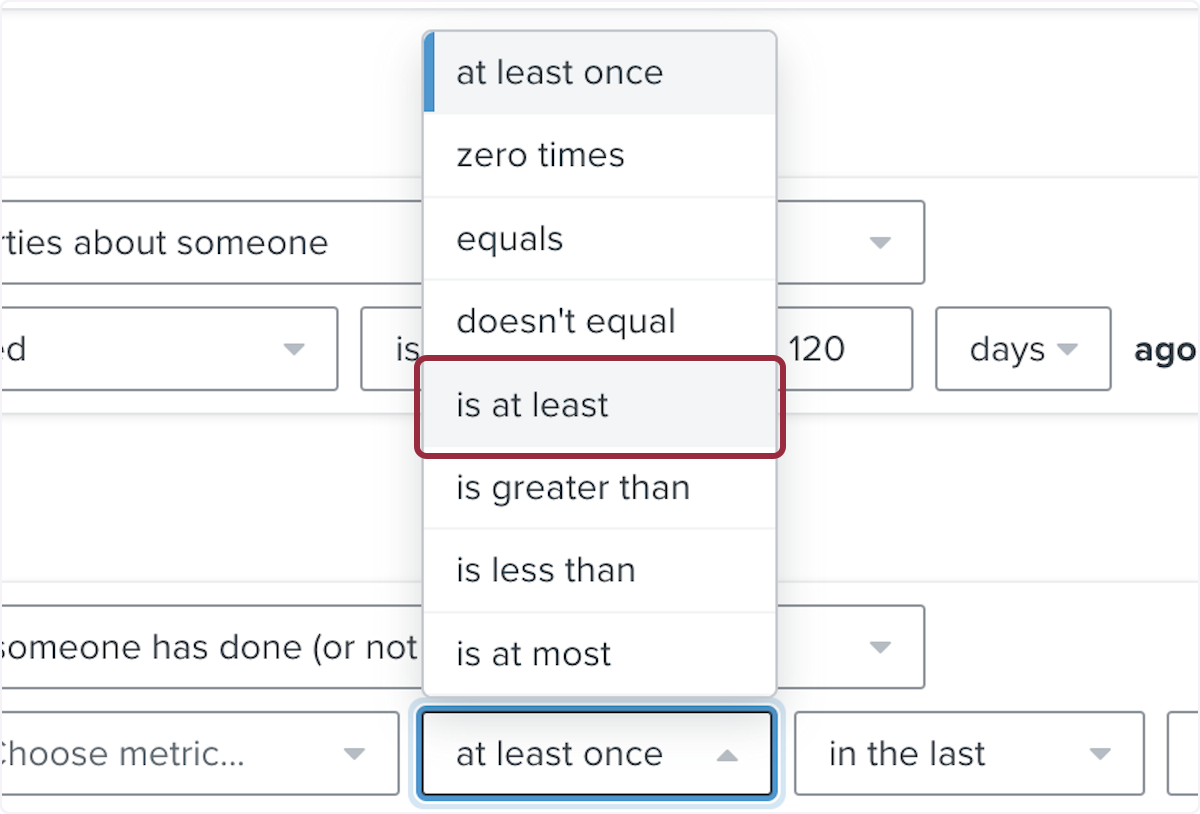
26. Click on is at least
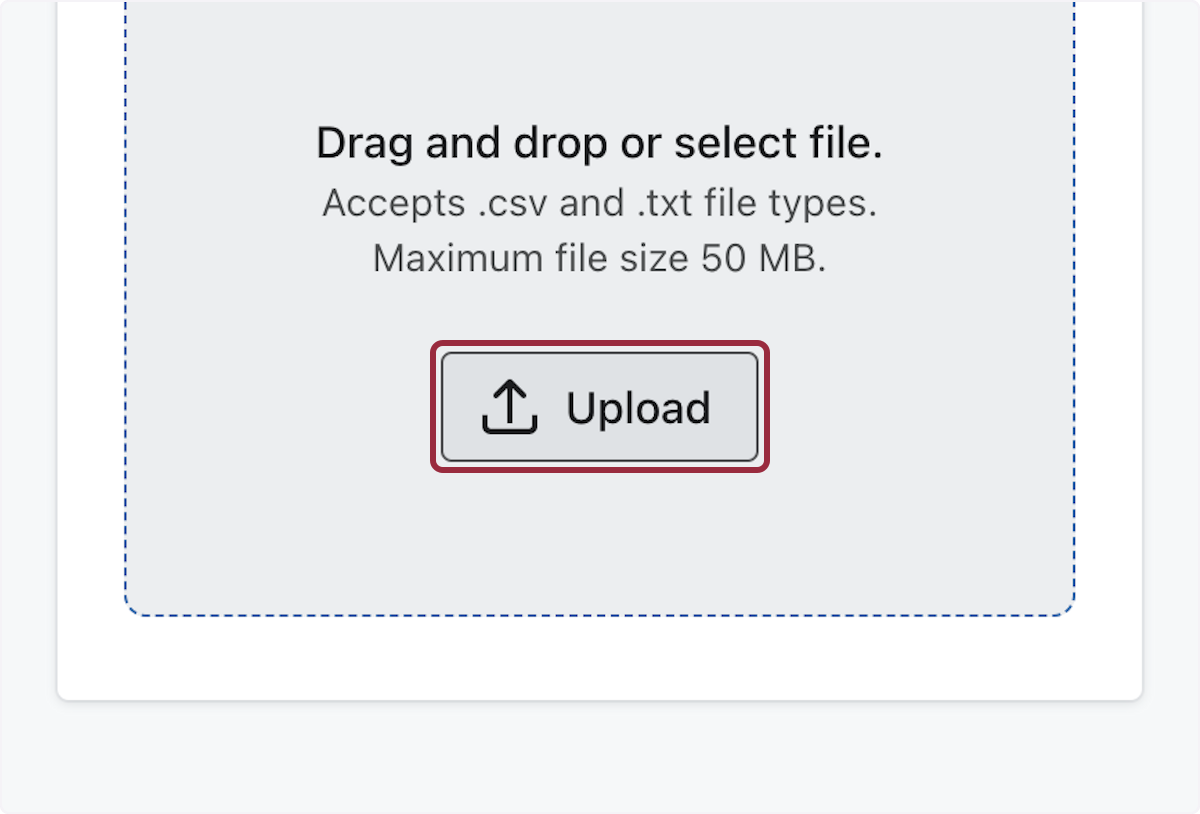
27. Choose the same time period used for your previous conditions
28. Click on AND
29. Click on Select a condition…
30. Click on What someone has done (or not done)
31. Click on Select a metric
32. Click on Received Email
33. Click on Select
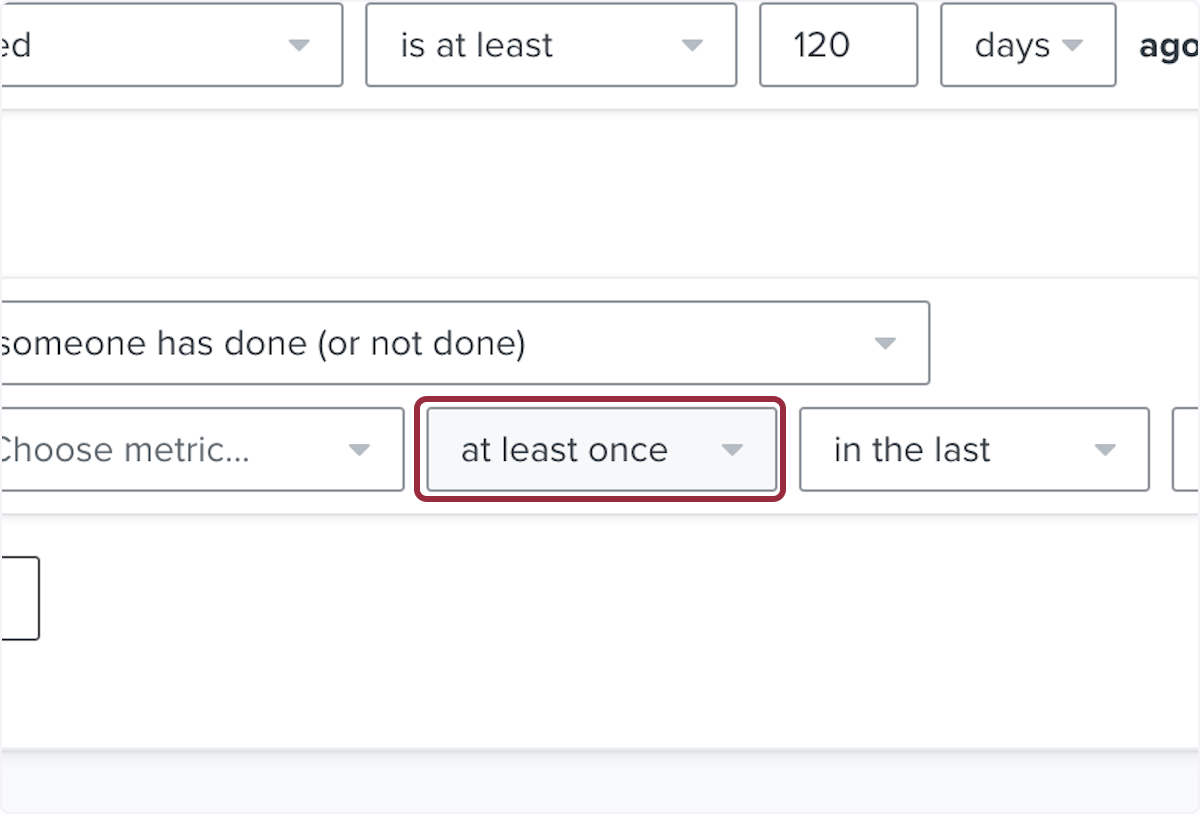
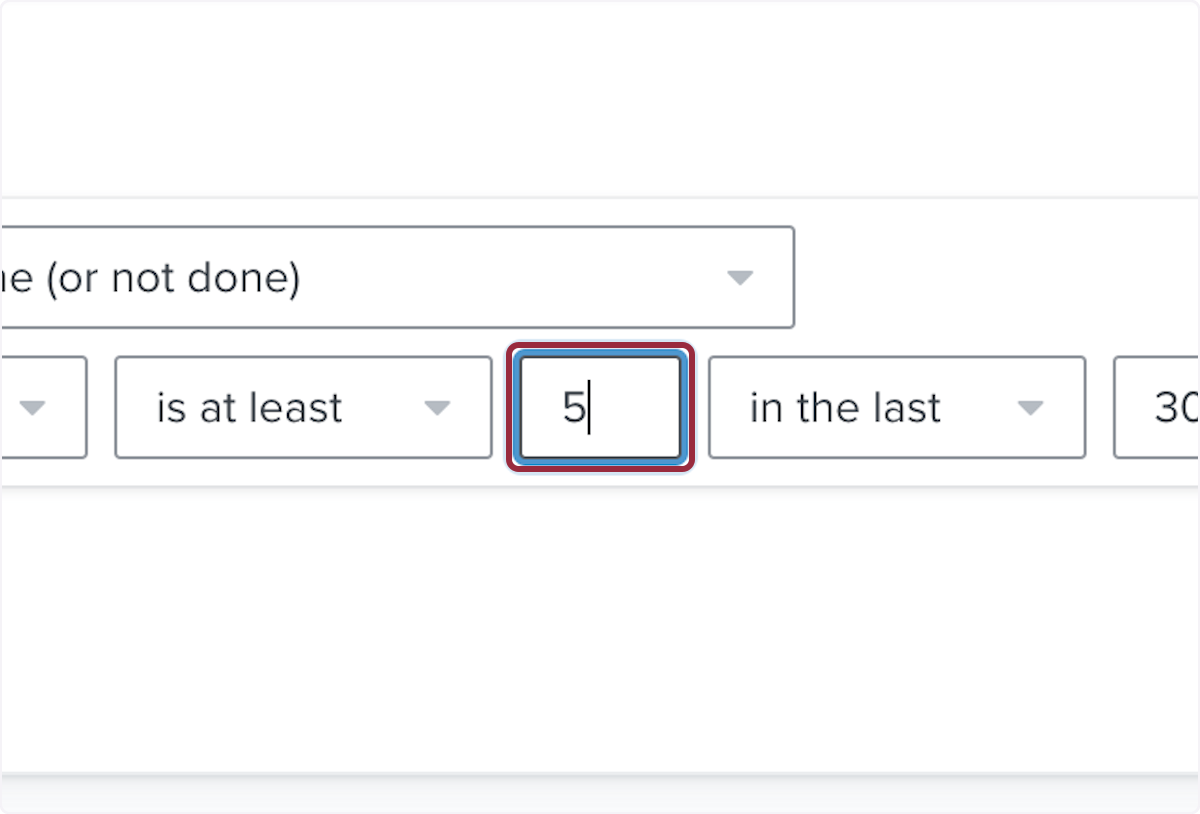
34. Click on is at least
35. Type "5" or choose a number of emails received you want to apply the conditions to
36. Enter the same time period as above
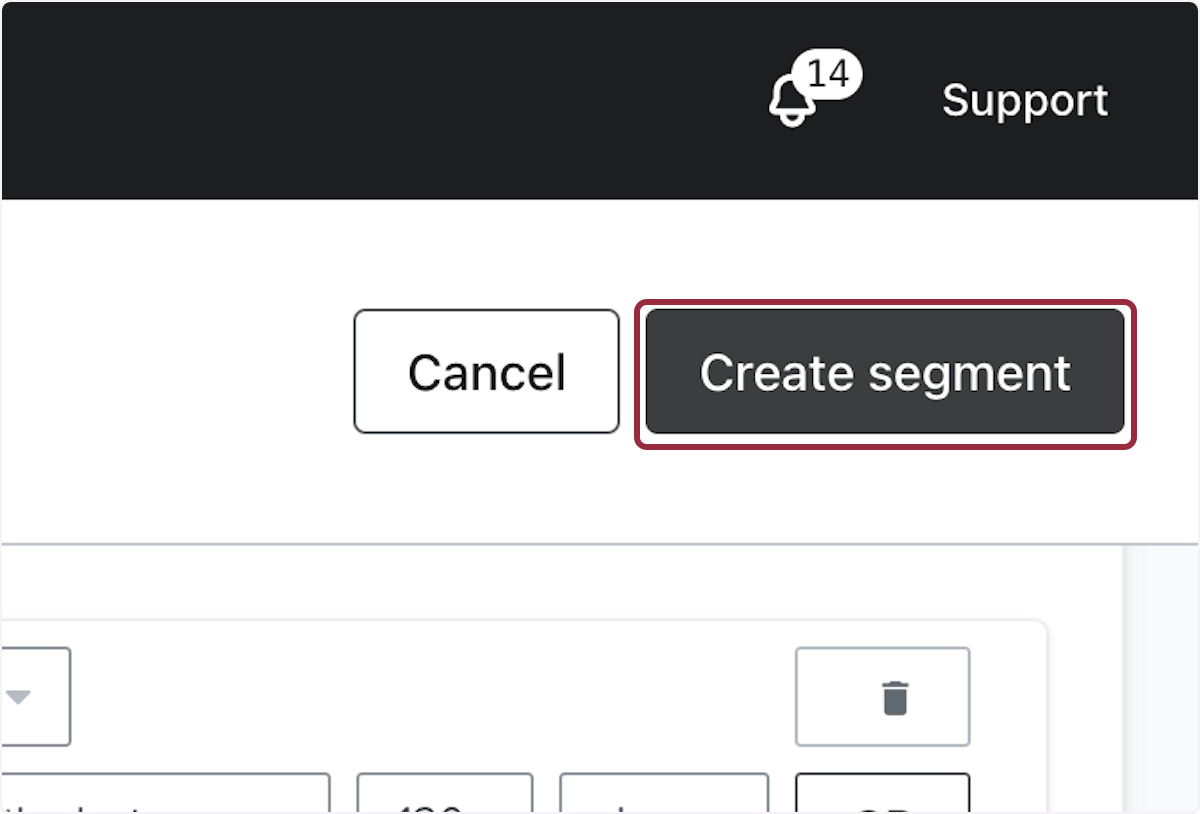
37. Click on Create segment
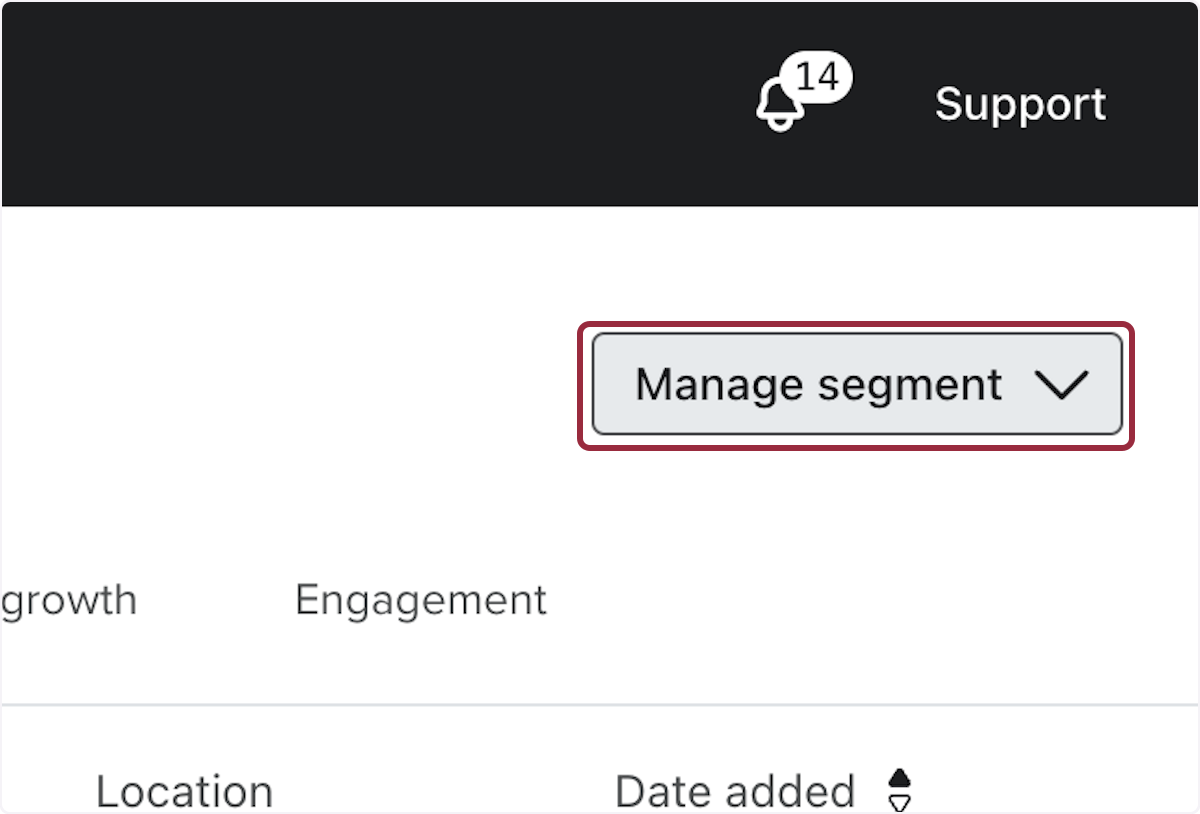
38. Click on Manage segment
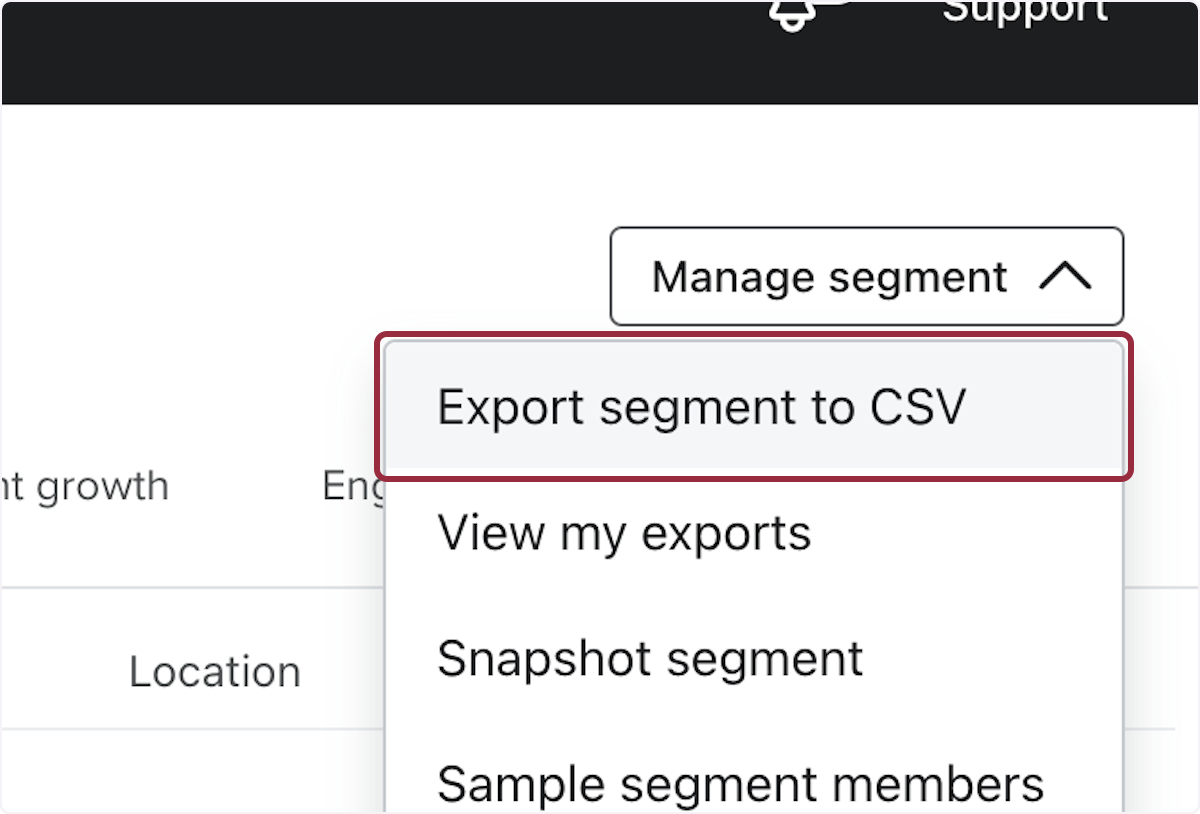
39. Click on Export segment to CSV
40. Click on Profiles

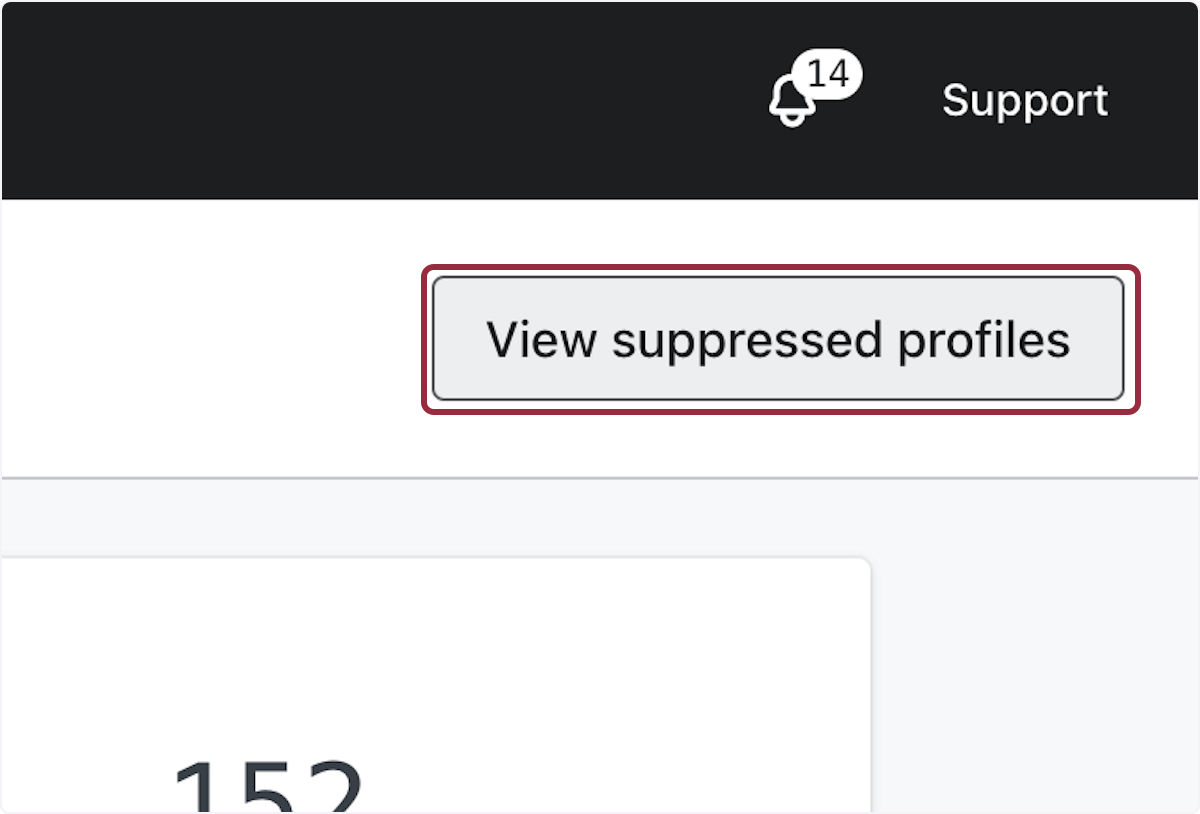
41. Click on View suppressed profiles
42. Click on Import
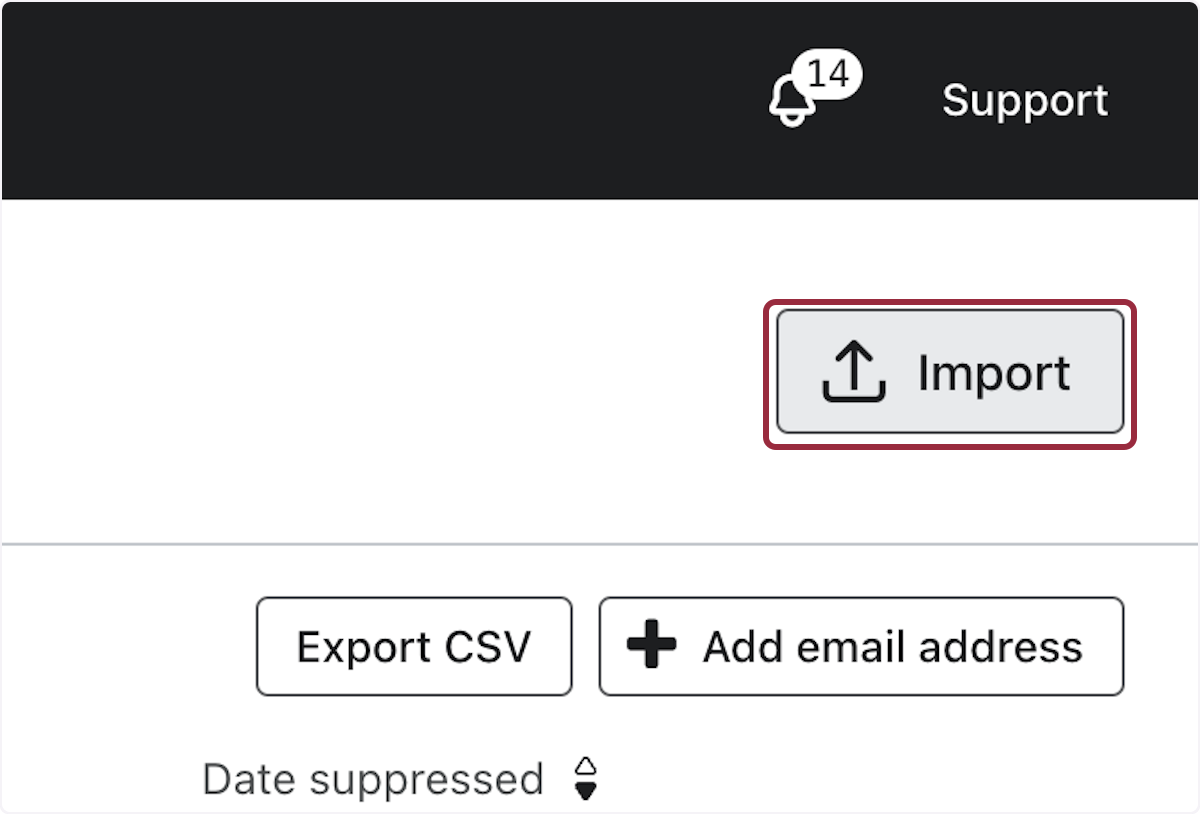
43. Click on Upload and choose the CSV you just exported